
This guide shall demonstrate how to set up “Portainer” on a Raspberry Pi.
Difficulty: Easy
Time: 20 – 30 minutes
YouTube video: https://www.youtube.com/watch?v=3NfUIKDbrrw
Table of Contents
Prerequisites
For this guide, I will assume that you already know how to set up a headless Raspberry Pi. If not, please read the following article before you continue.
You will need the following:
- Raspberry Pi
- Micro SD card & card reader
- Stable connection to your router (use a wired connection, if possible)
- 64-bit installation of Raspberry Pi OS lite
I am showcasing this setup with a Raspberry Pi 4 (8GB) but it should work just fine with other models.
What is Portainer?
Portainer is a web-based container management platform that allows easier control over docker containers, images, volumes, and stacks. Portainer comes as a docker container itself and runs locally on your docker server. Portainer is a very useful tool for people that want to explore docker without the hassle of managing everything via terminal.
Install Docker
Since Portainer comes as a docker container, we need to set up docker first. To install docker you can simply run the following two commands:
> curl -fsSL https://get.docker.com -o get-docker.sh

> sh get-docker.sh


# Source: https://get.docker.com/
Depending on your Raspberry Pi and the speed of your micro SD card, this may take a while.
Install Portainer
To install Portainer you need to create a persistent volume within docker where Portainer can store its data.
> docker volume create portainer_data


# Source: https://docs.portainer.io/start/install/server/docker/linux
With the volume created, you can now start up the container.
> docker run -d -p 8000:8000 -p 9443:9443 --name portainer --restart=always -v /var/run/docker.sock:/var/run/docker.sock -v portainer_data:/data portainer/portainer-ce:latest


# You can add "-p 9000:9000" if you want to enable HTTP
# Source: https://docs.portainer.io/start/install/server/docker/linux
This command does the following:
- -d: Starts the container in detached mode
- -p: Enables port publishing from your docker host to the container (8000:8000 –> host port 8000 to container port 8000)
- –name: Gives the container a name
- –restart: Makes sure that this container will restart if an unexpected shutdown occurs
- -v: Maps volumes to the container
The last part “portainer/portainer-ce:latest” specifies the image that should be used to start the container. Docker will check if a newer version of the image is available and downloads it from hub.docker.com if needed.
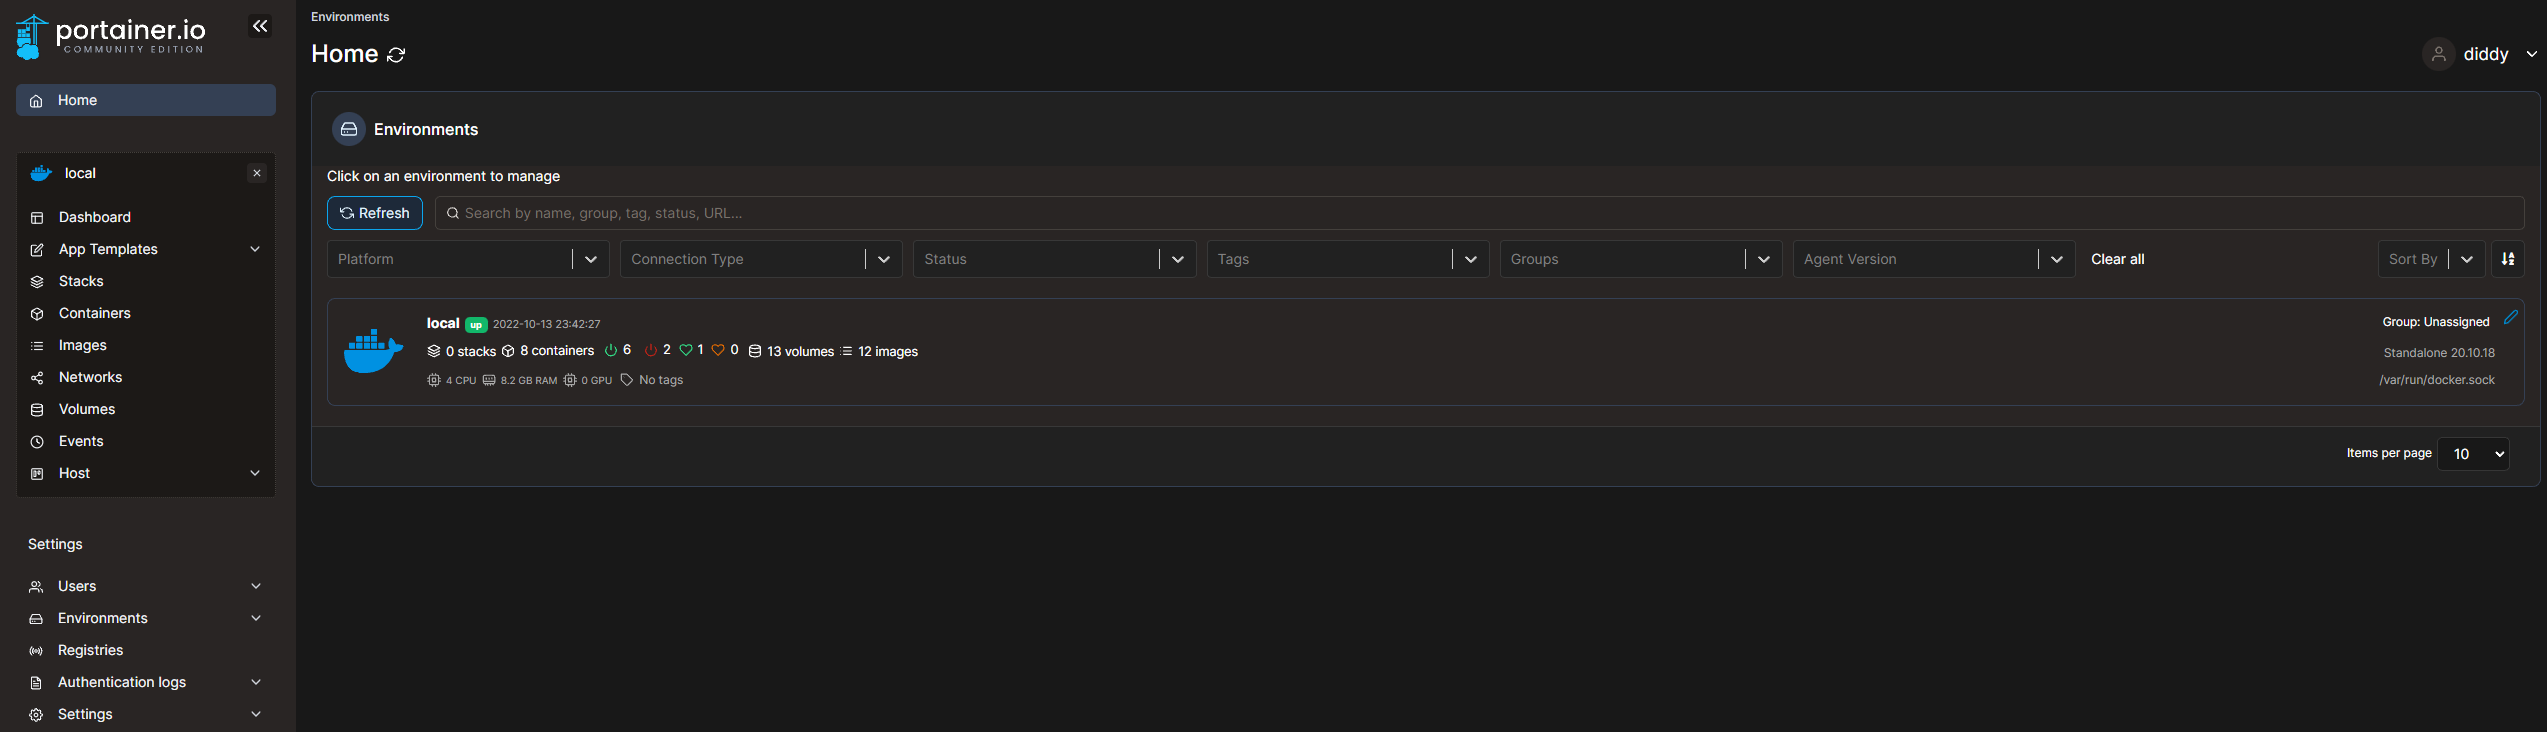
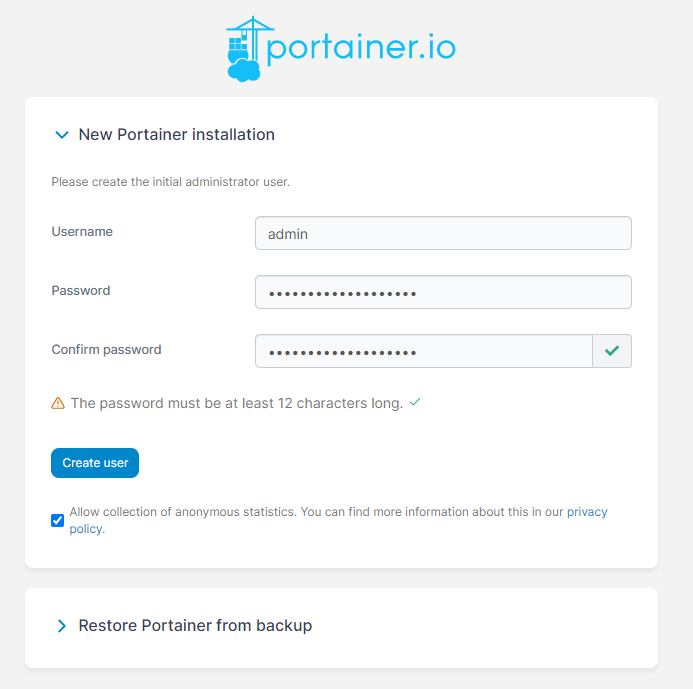
If everything went right you should be able to access Portainer via https://your-ip-here:9443.
Enable Dark Mode
First things first! Enable dark mode. Go to “My Account” in the top right corner and select “Dark Mode”.
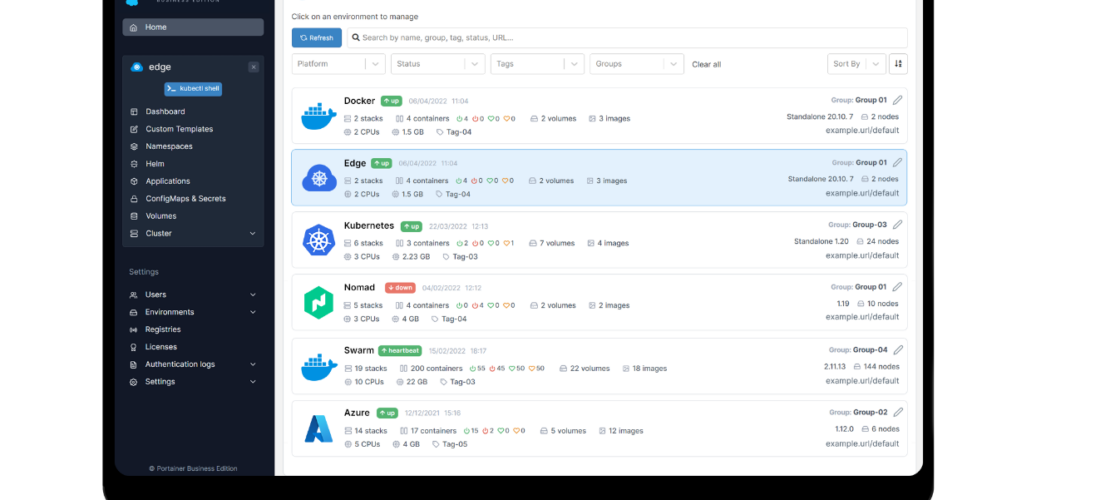
Use Portainer
Now that Portainer is installed you can start your first container. Here are some quick tips and tricks.
Images
Every container needs an image. You can create your own specialized image or download one from hub.docker.com.
During container creation, you will be asked for an image name. The name you specify will be checked in local storage and if no image is found Portainer (Docker) will download the image from hub.docker.com.
Volumes
If you want to save persistent data with your containers (e.g. database containers) you need to create volumes. Volumes are created at /var/lib/docker/volumes on your host machine and can be mounted to your docker container. The exact mounting points should be named in the installation instructions for the specific container.
Containers
Containers do the work in docker. They are designed to bring everything that you need to run a program or code. You can specify:
- Name
- Image
- Network port configuration
- Access control
- Custom commands
- Volumes
- Network settings
- Environment variables
- Labels
- Restart Policy
- Runtime & Ressources
- Capabilities
The exact configuration for a container has to be taken from the installation instructions from hub.docker.com or wherever you got the image from.
The End
That is all there is to say about the installation process for Portainer. I hope everything was described clearly. If there are any questions, please let me know.