

In this article, you will learn a simple way to upscale old videos using QualityScaler (BSRGAN) & RealScaler (Real-ESRGAN). You will also find a quality comparison between the different AI models.
Table of Contents
Introduction
In the last few years, camera quality has improved a lot and with that, our expectation towards video quality has gone up. While cleaning out my video archives I wondered if there is anything I could do to improve old recordings, so I started researching and found QualityScaler and RealScaler by Djdefrag.
DISCLAIMER: This is NOT a paid review. I purchased both tools with my own money and do not have any advantages by publishing this article.
Both tools use AI models to upscale pictures and videos frame by frame. The difference is that QualityScaler uses an AI model called “BSRGAN“, which is known for its high-quality but slow upscaling, while RealScaler uses “Real-ESRGAN“, a model known for faster but less quality-focused upscaling.
Difference between BSRGAN vs. Real-ESRGAN
BSRGAN is a degradation model that simulates real-world image degradation by adding various types of noise to the input image. This helps the model learn how to remove noise and artifacts from images during the super-resolution process.
Real-ESRGAN is a real-world blind super-resolution model that uses synthetic data to train the model. This allows the model to learn how to handle real-world images with unknown degradations.
Performance comparison
Hardware Specs
All tests were done with the following hardware:
| Processor | Intel i5-12600k |
| Memory | 32GB DDR4 |
| Graphics | Nvidia GeForce RTX 2060 6GB |
Test Footage
The following footage was used to test:
| Name | Link |
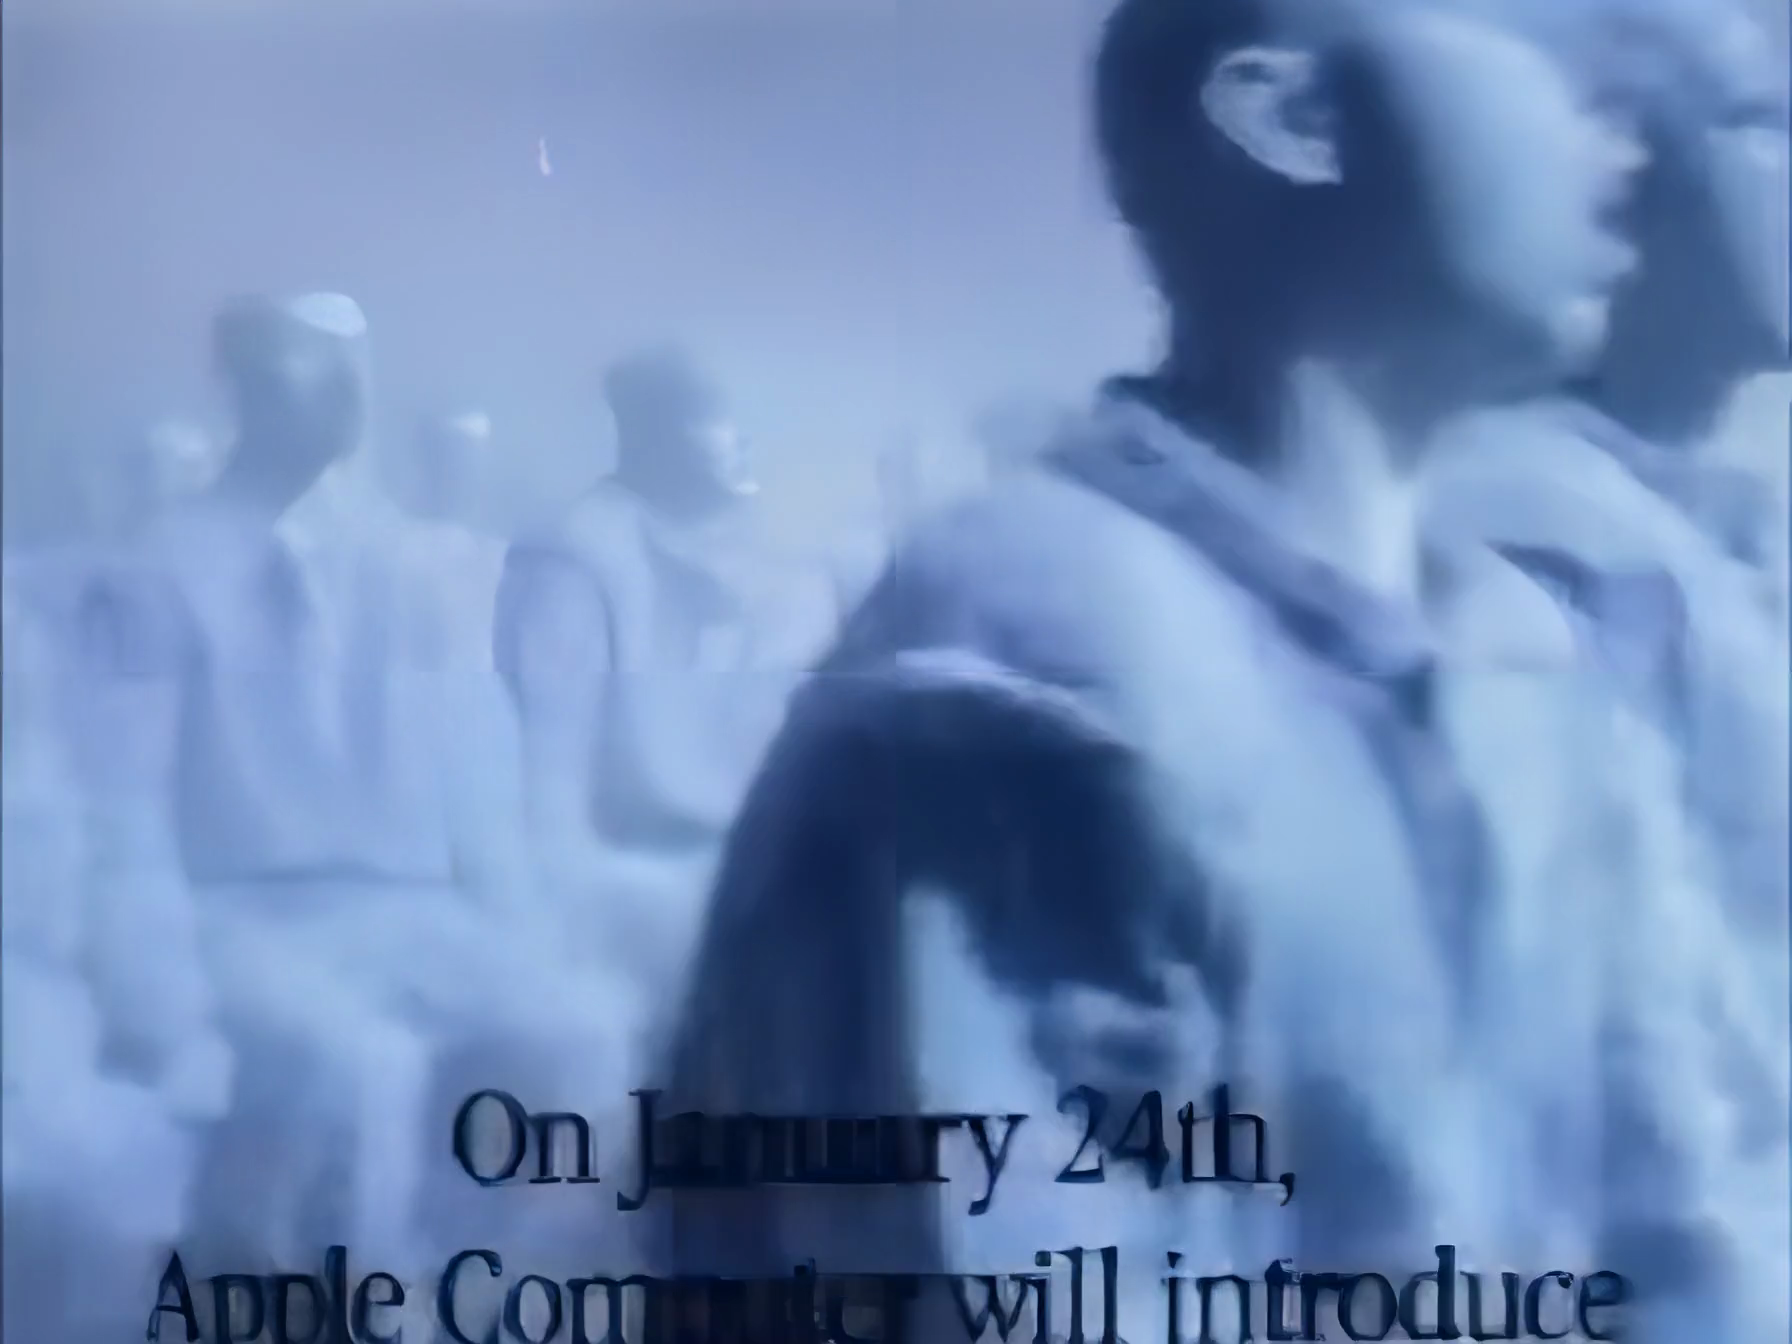
| Apple Commercial 1984 | https://www.youtube.com/watch?v=VtvjbmoDx-I |
| Call of Duty Modern Warfare Trailer | https://www.youtube.com/watch?v=LhuIjNSg7Gg |
| Initial D – Gas Gas Gas | https://www.youtube.com/watch?v=gsw1ixeccbE |
Test Parameters
| Tool / Setting | RealScaler | QualityScaler |
| AI model | RealESR_Gx4 | BSRGANx4 |
| AI device | RTX2060 | RTX2060 |
| AI output | .png | .png |
| Input resolution | 70% | 70% |
| GPU VRam | 6 | 6 |
| CPU number | 8 | 8 |
Note: RealScaler comes with the “RealSRx4_Anime” model, which should improve upscaling results for anime. This model has not been used during the tests.
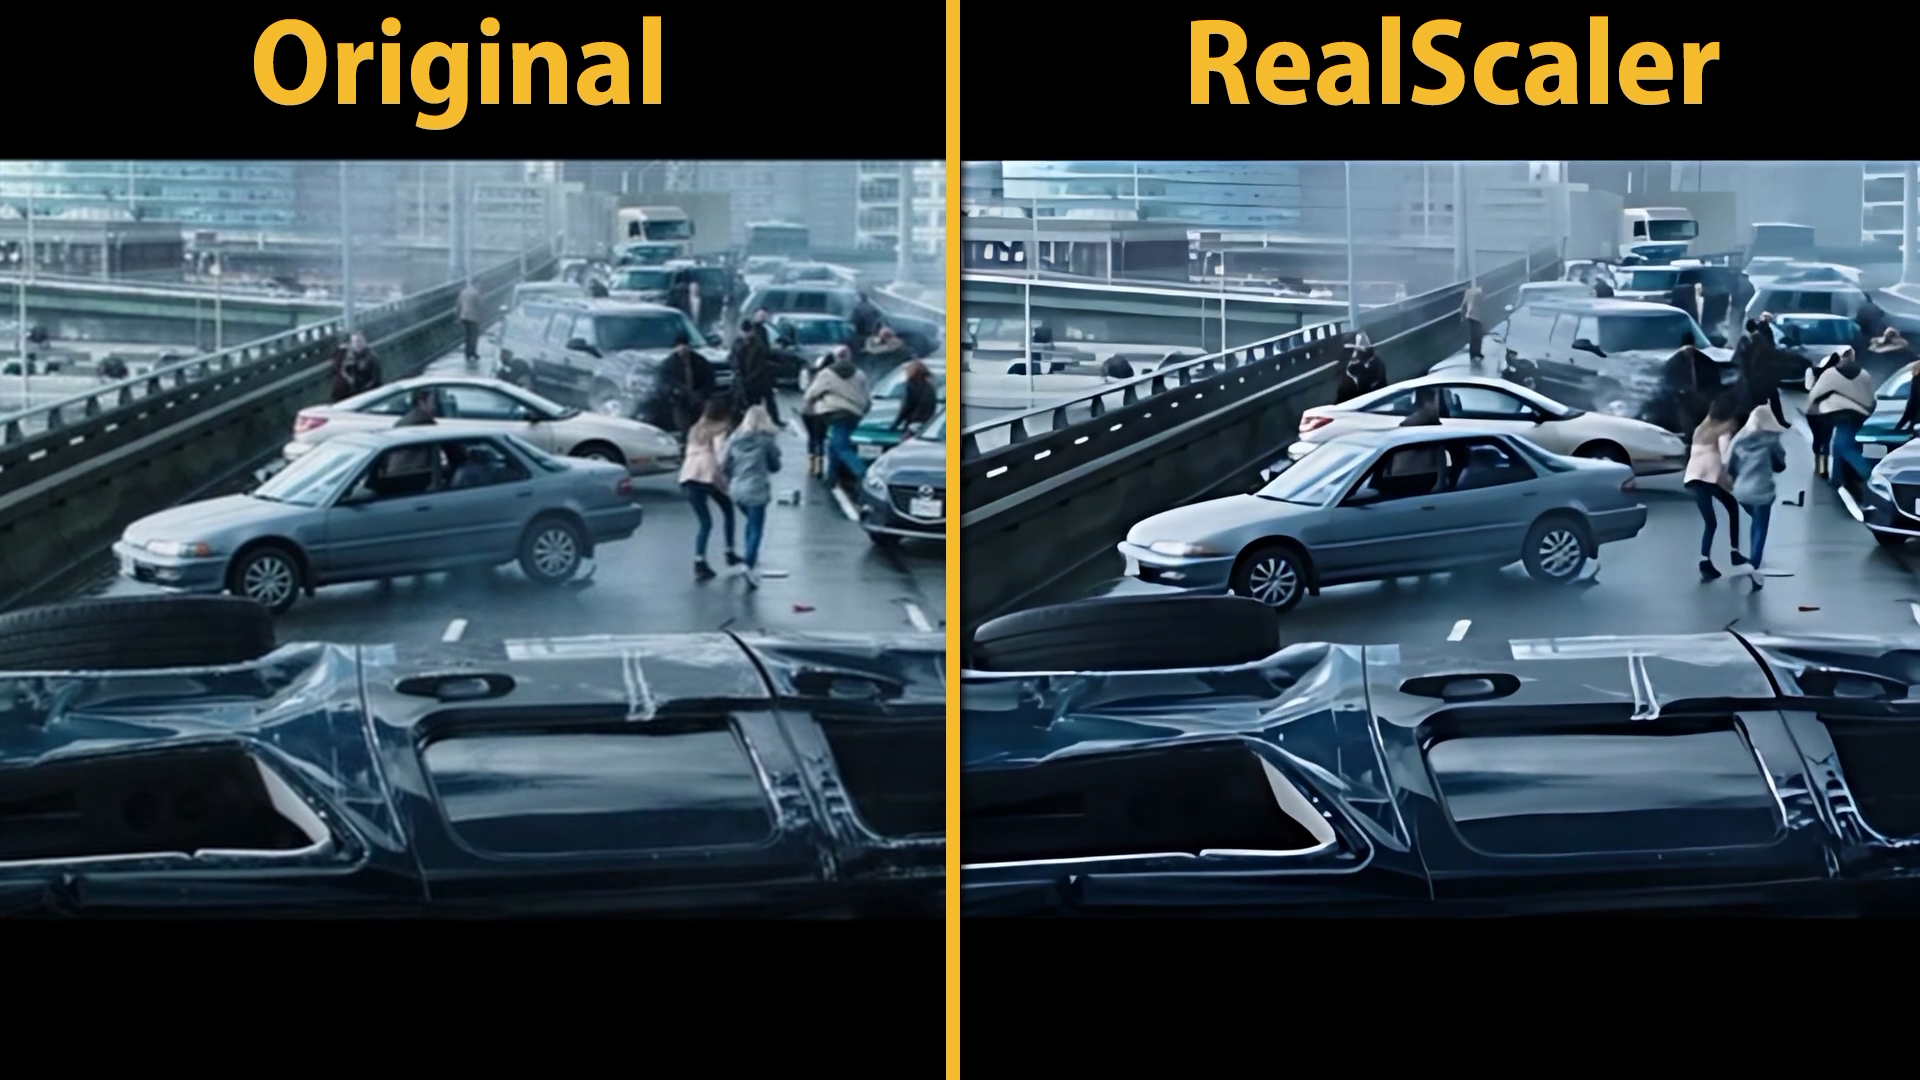
Results
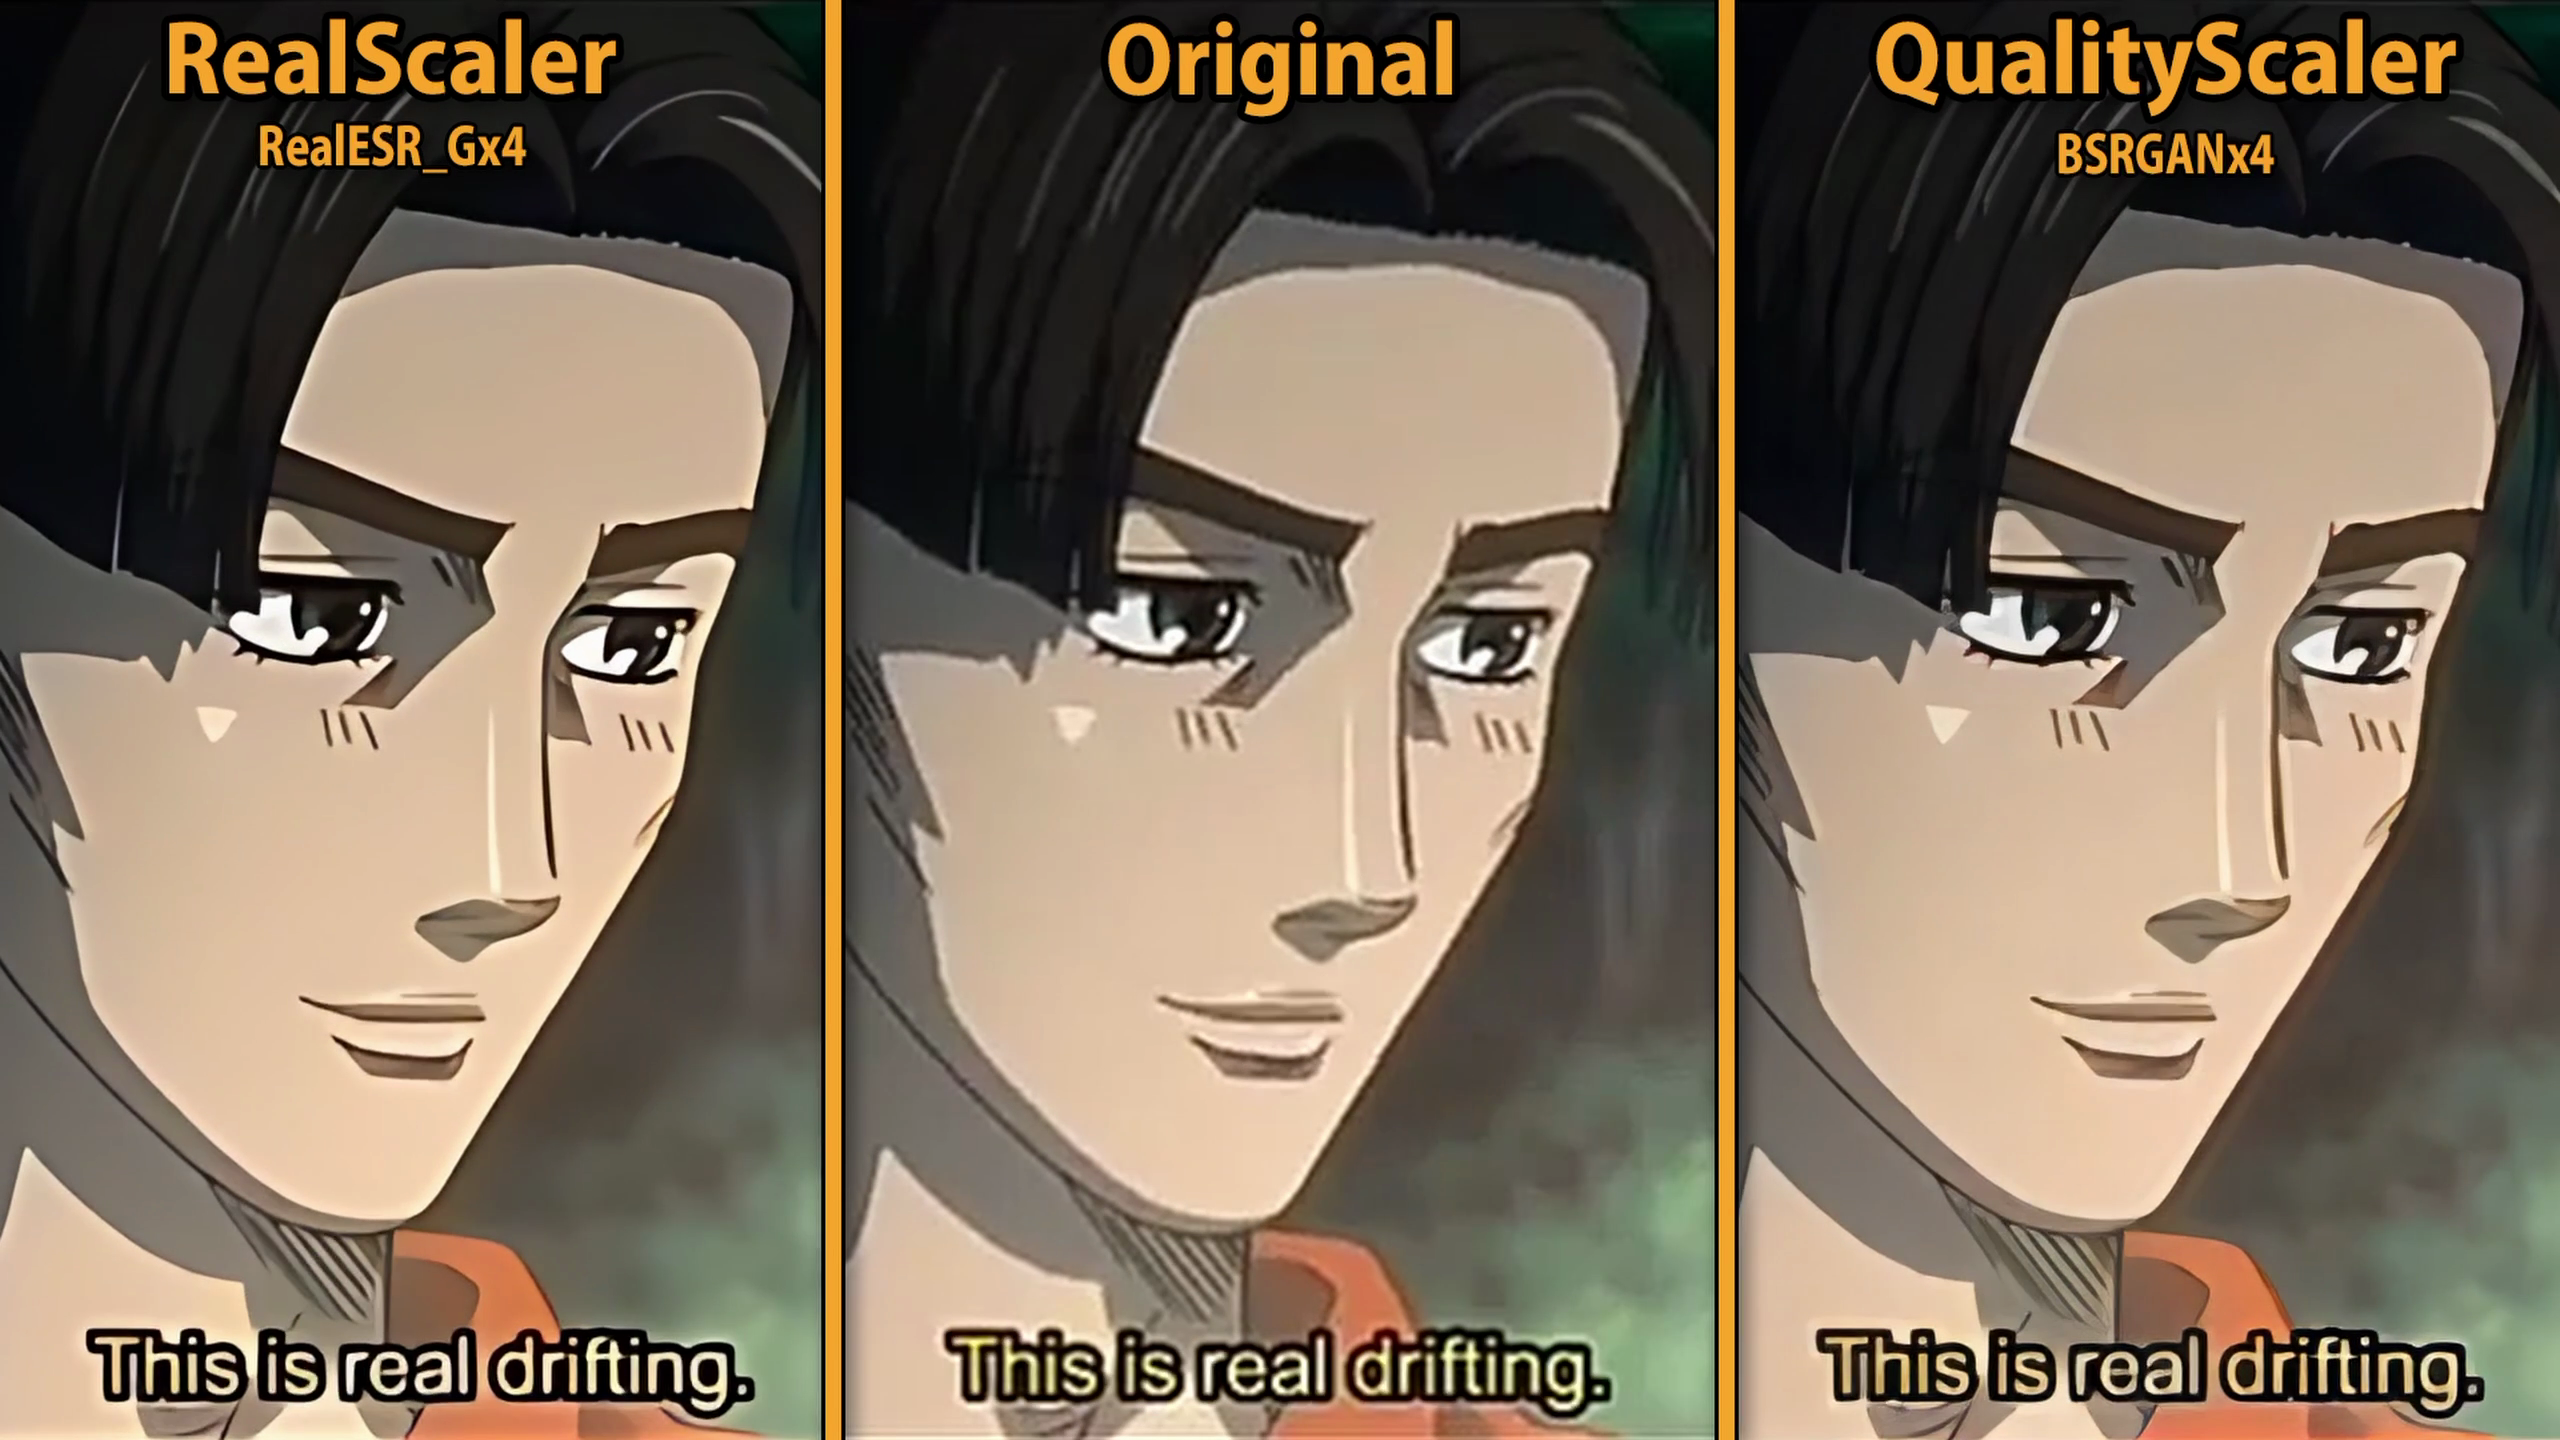
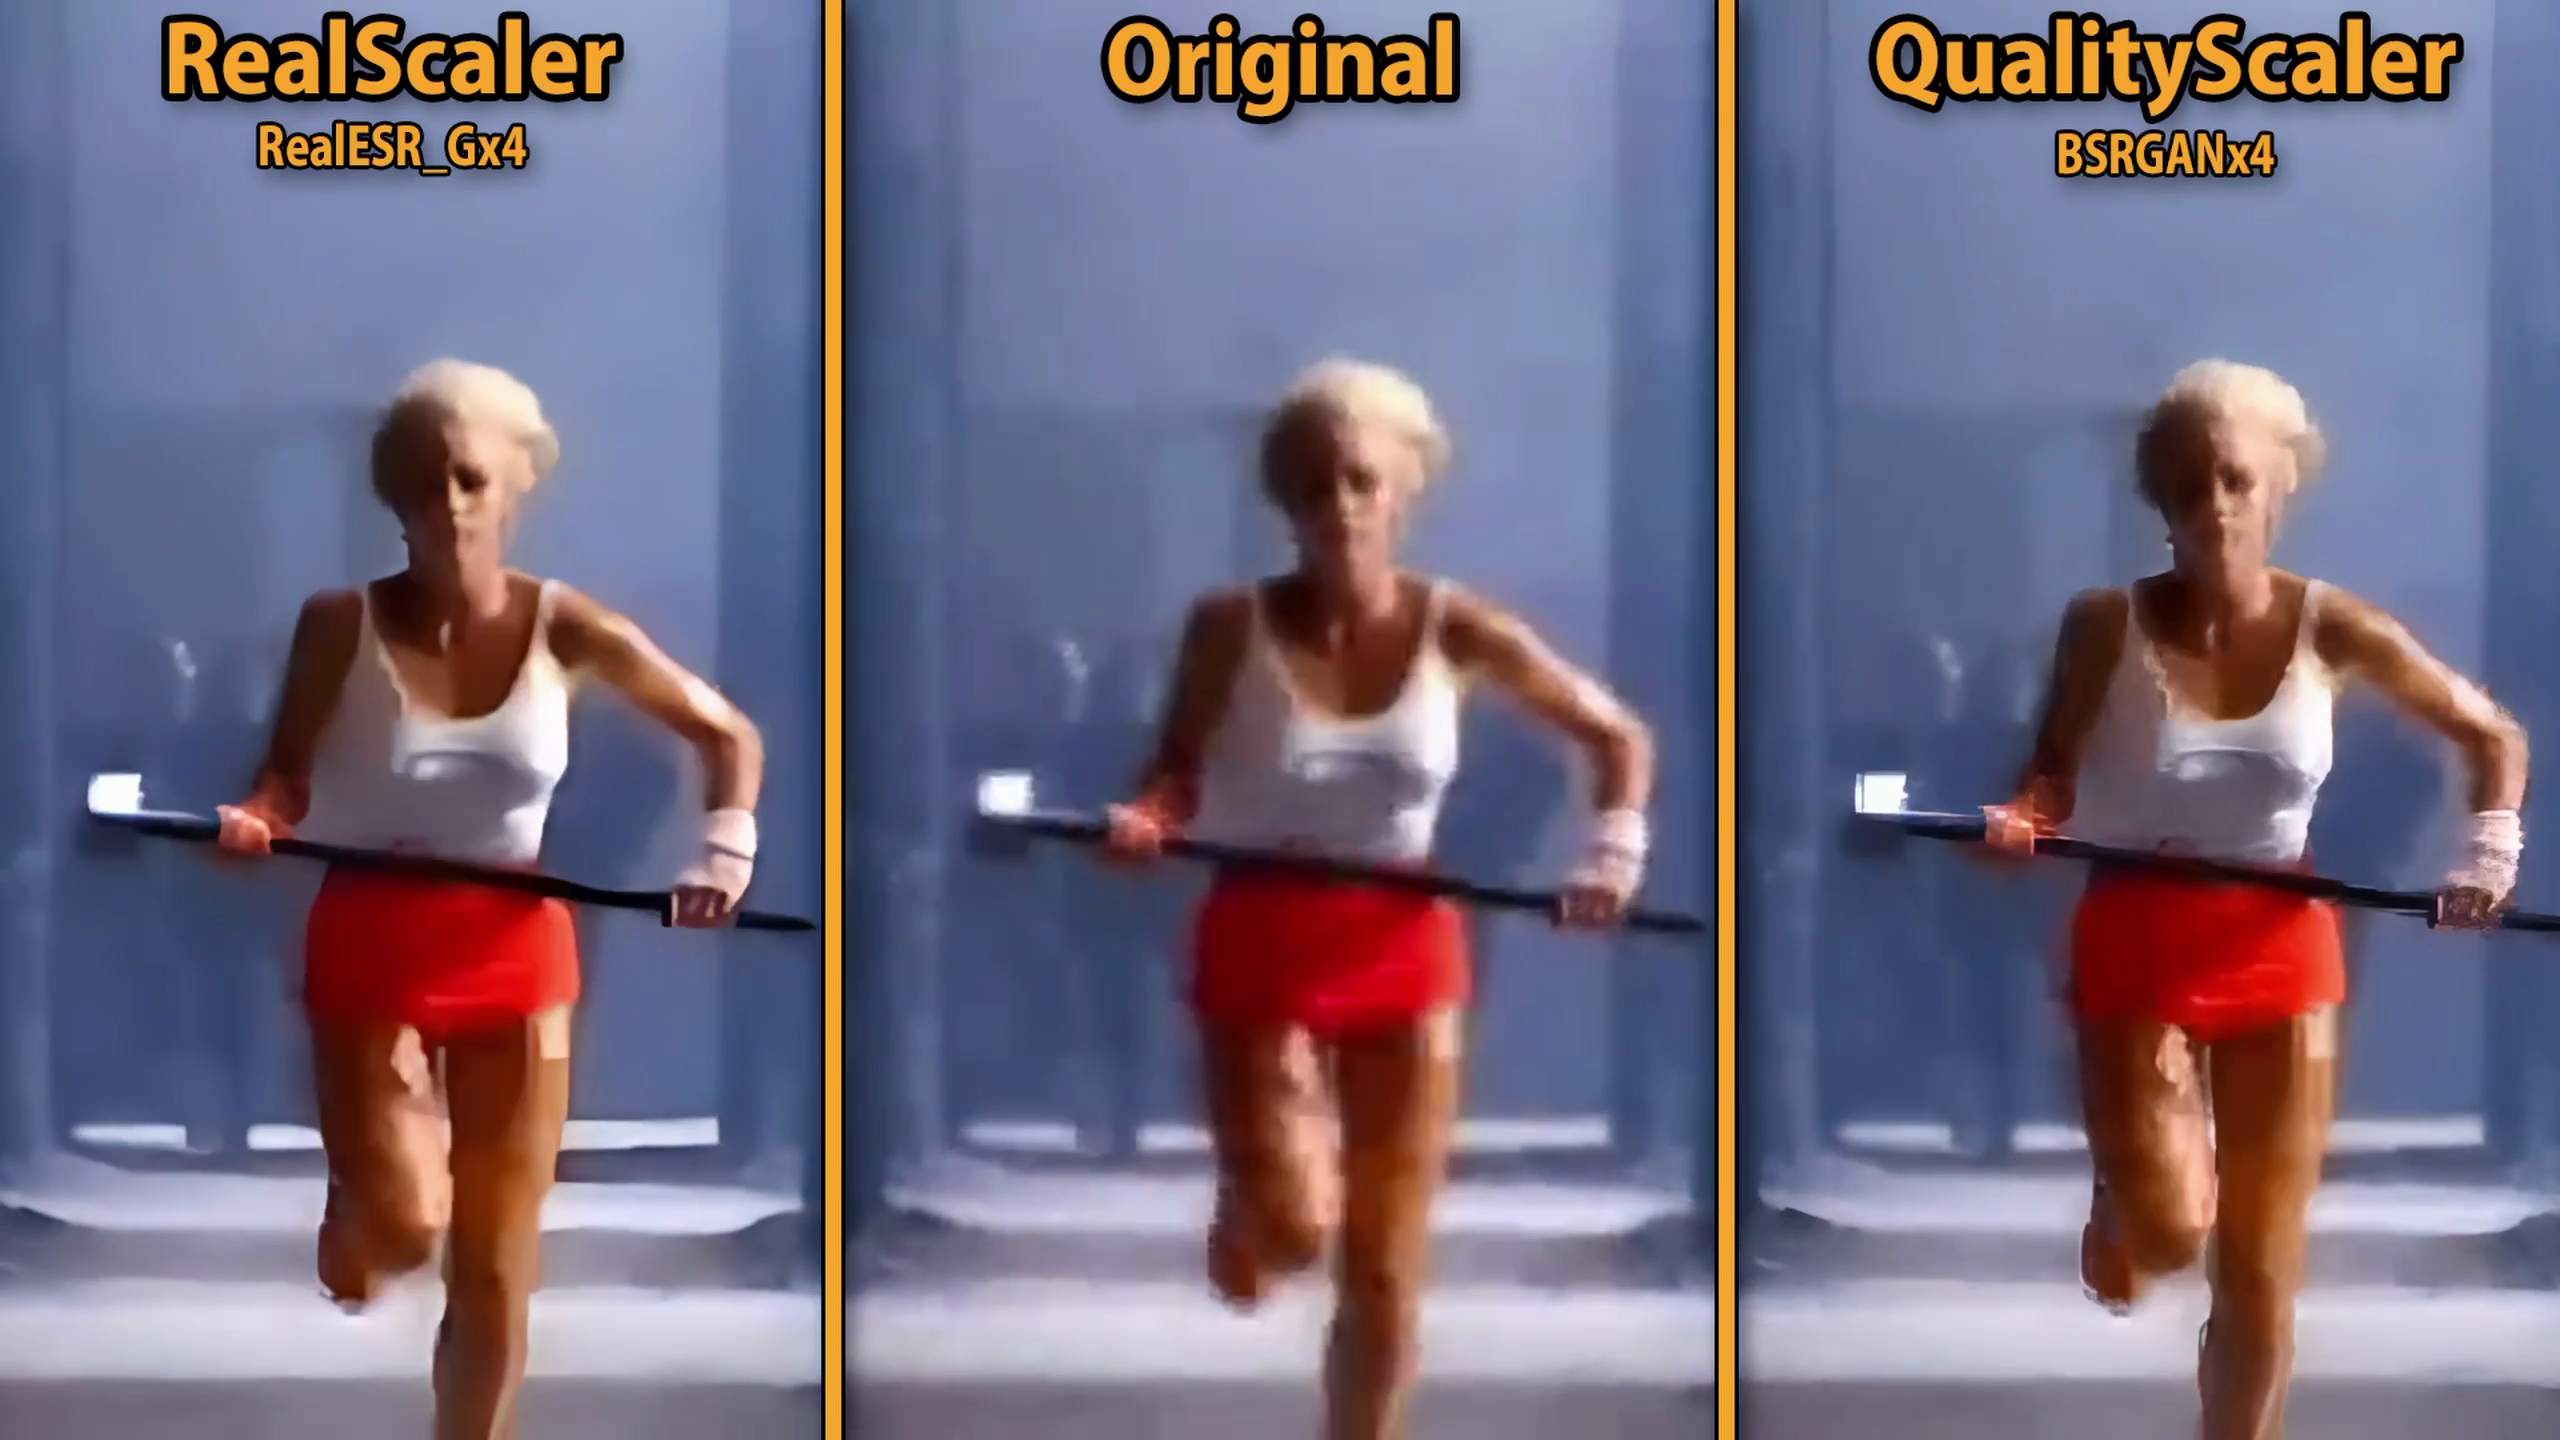
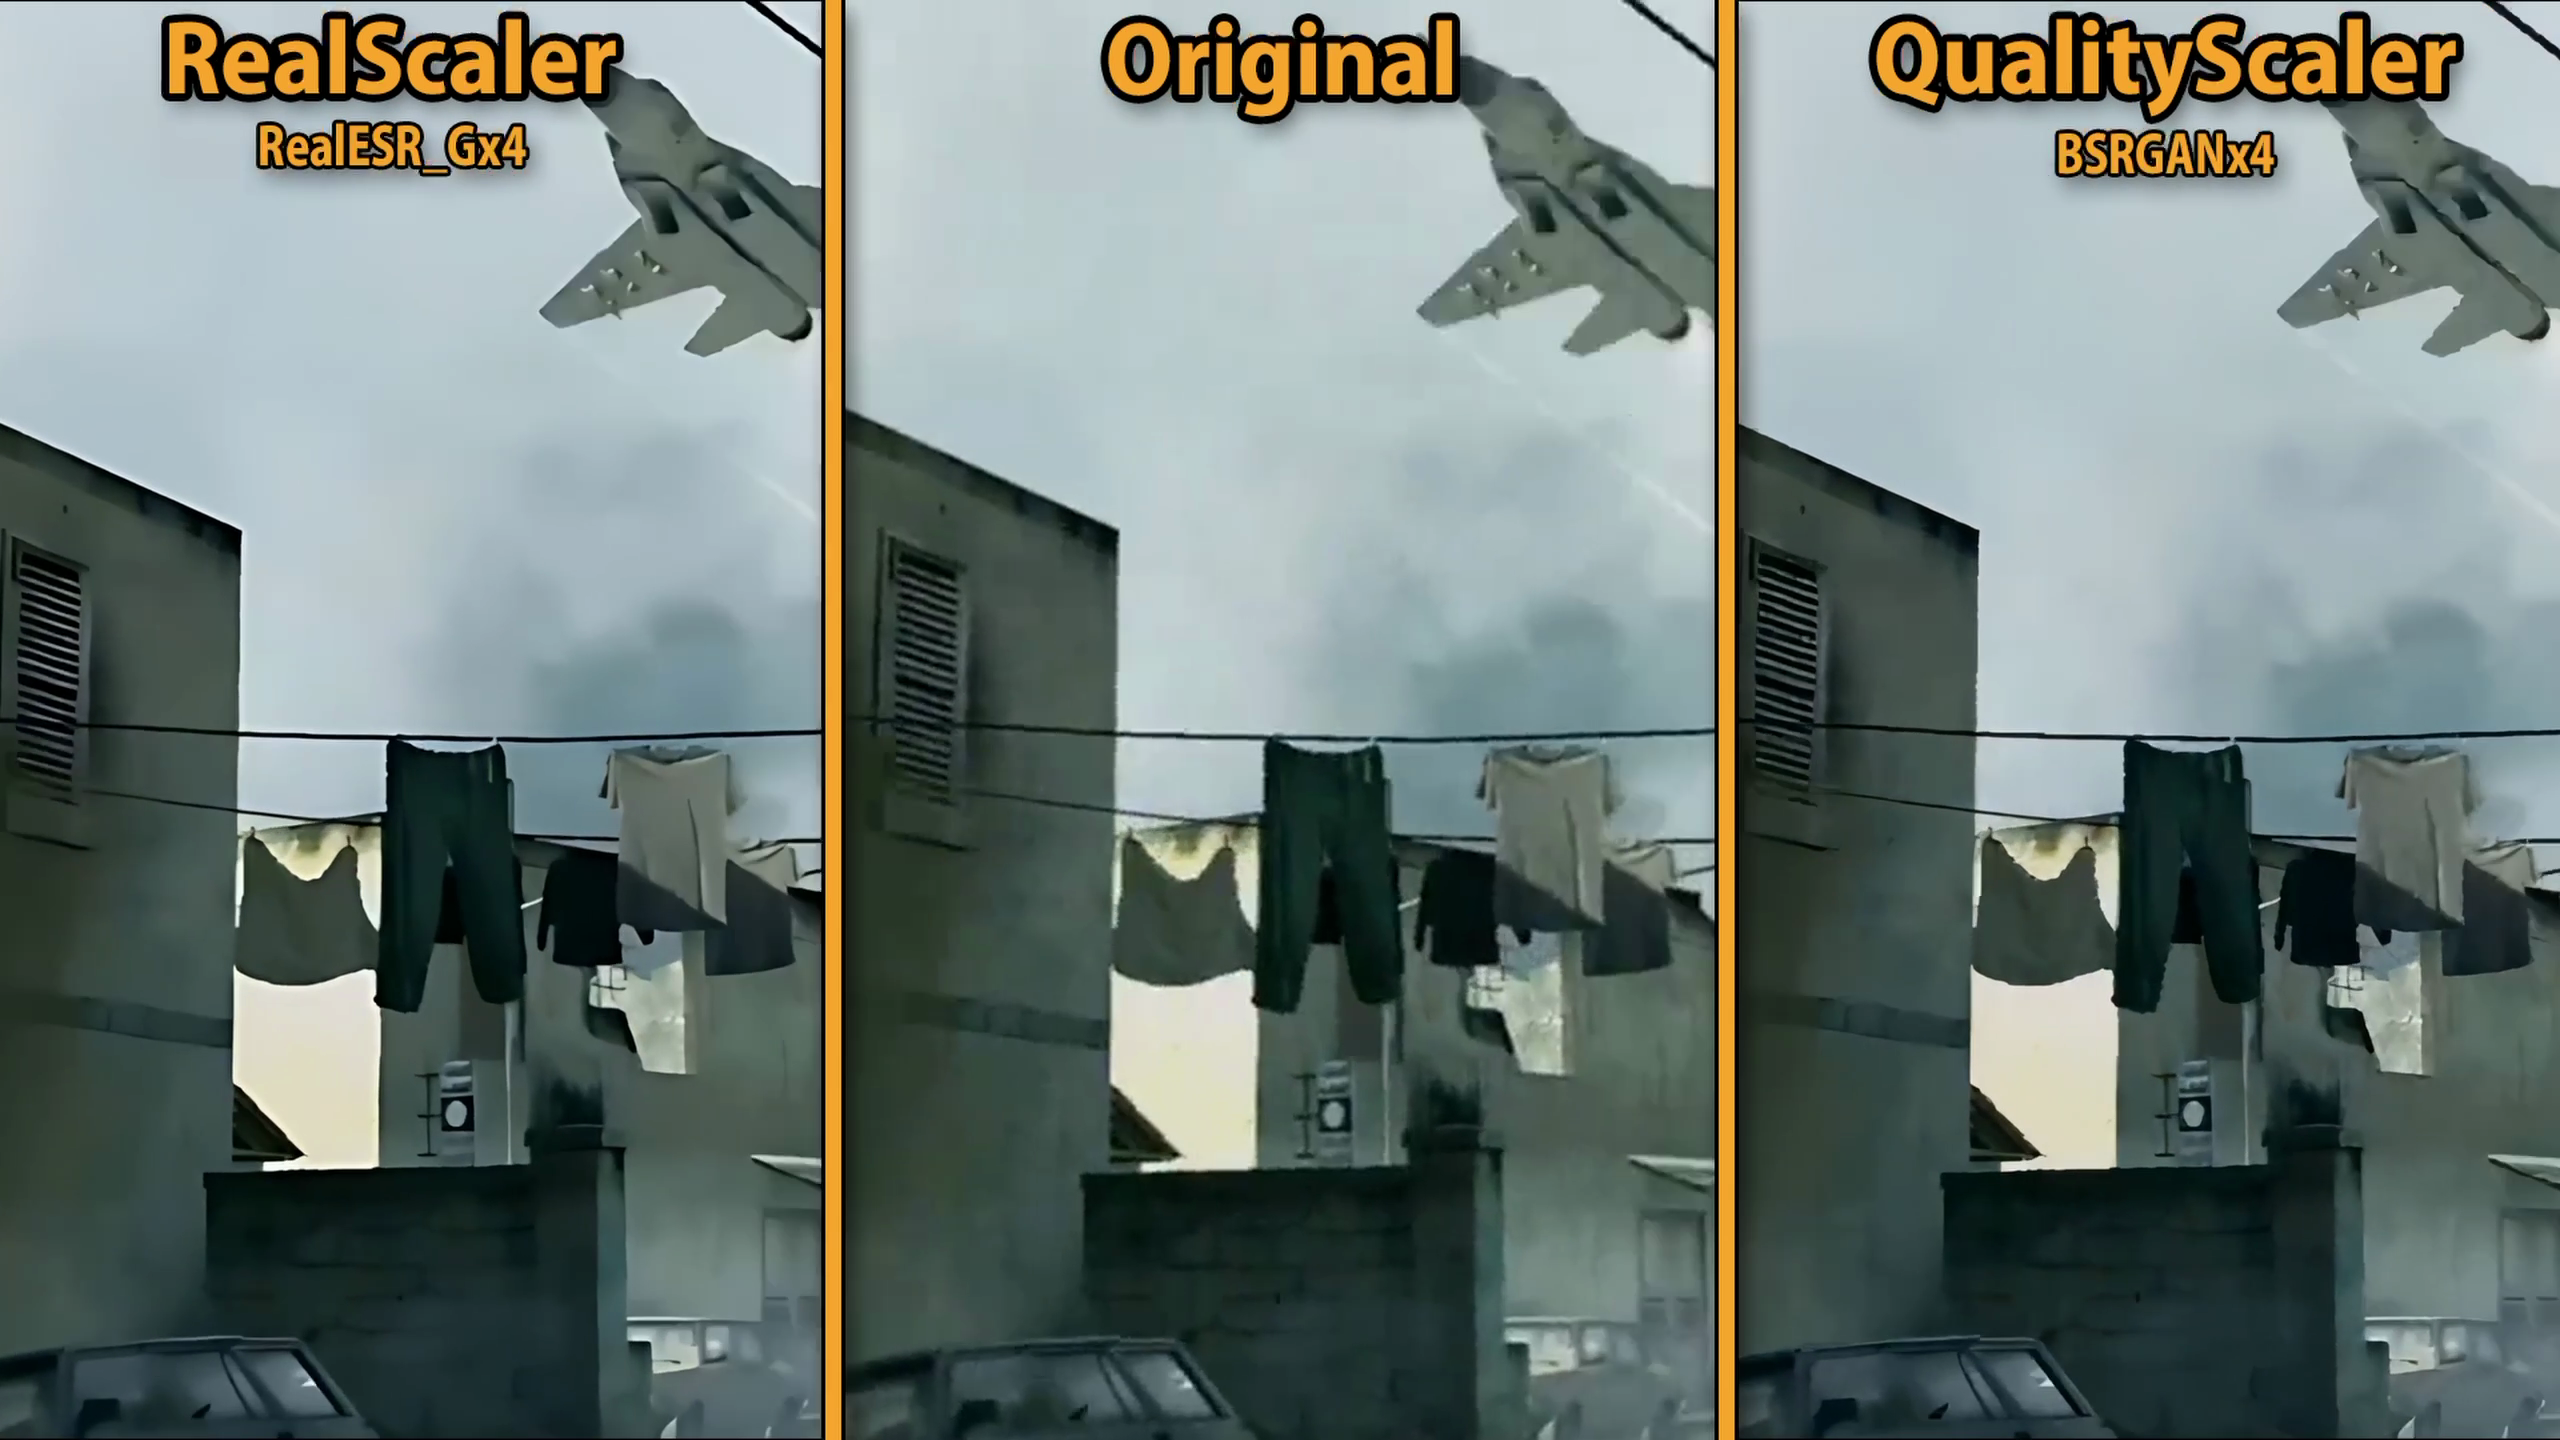
Video Link: https://www.youtube.com/watch?v=CnXthvYZrH8
Installation
The installation process is very straightforward. Simply download the provided archive, unpack it, and run the executable. The startup will take a few seconds.
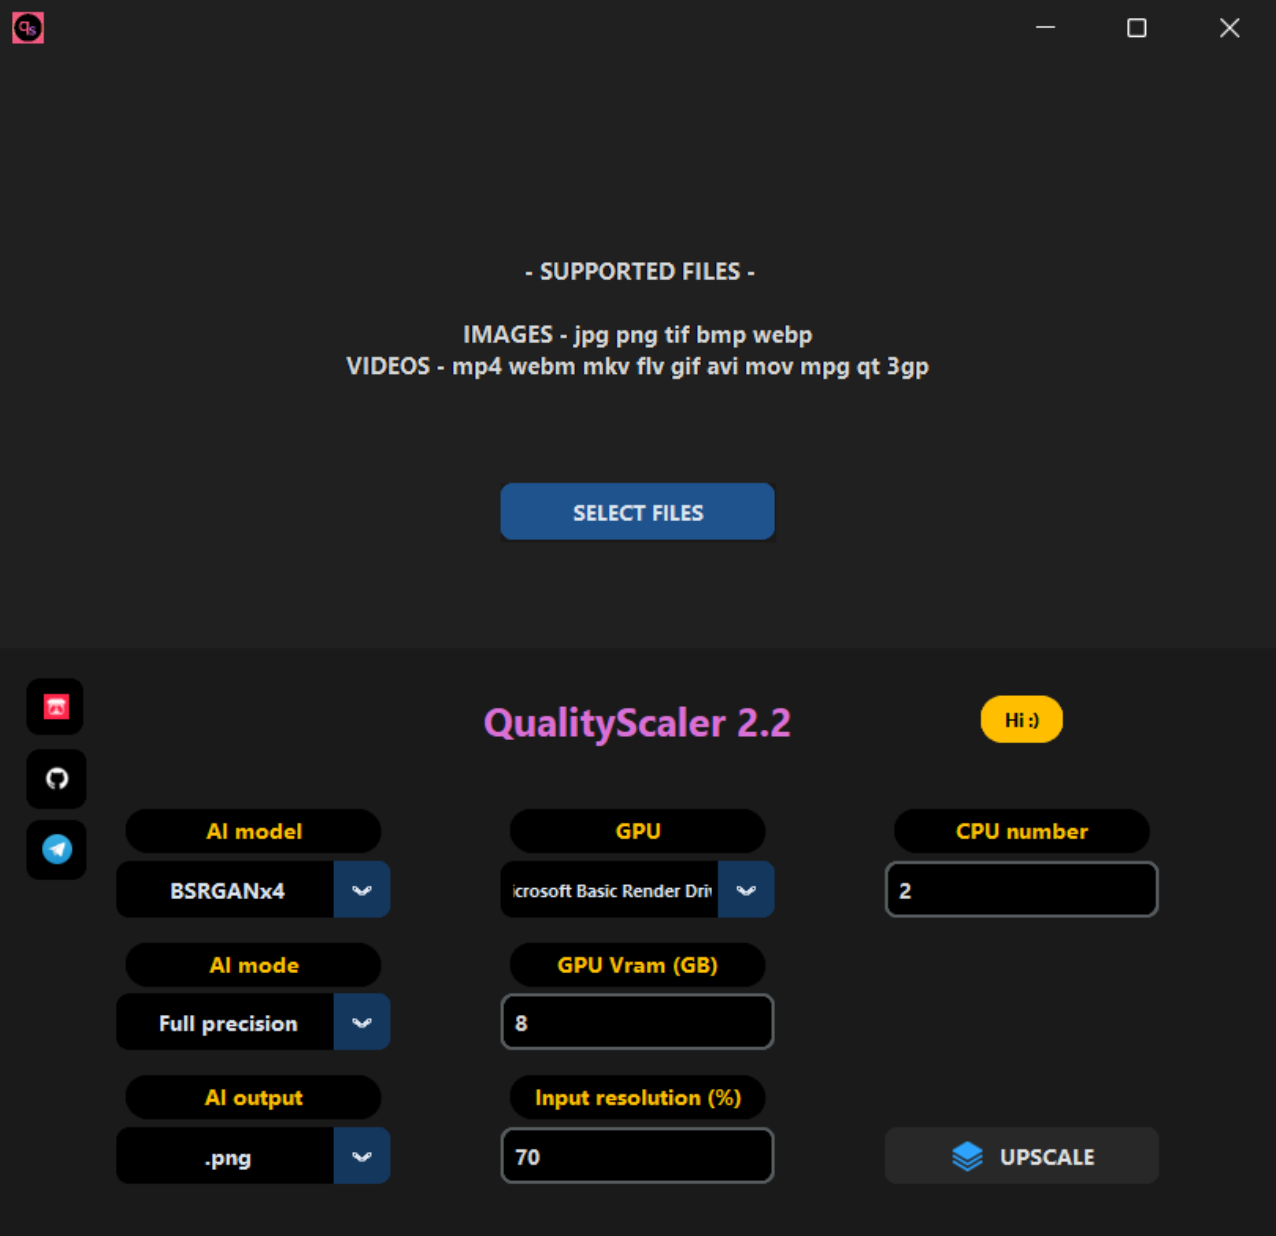
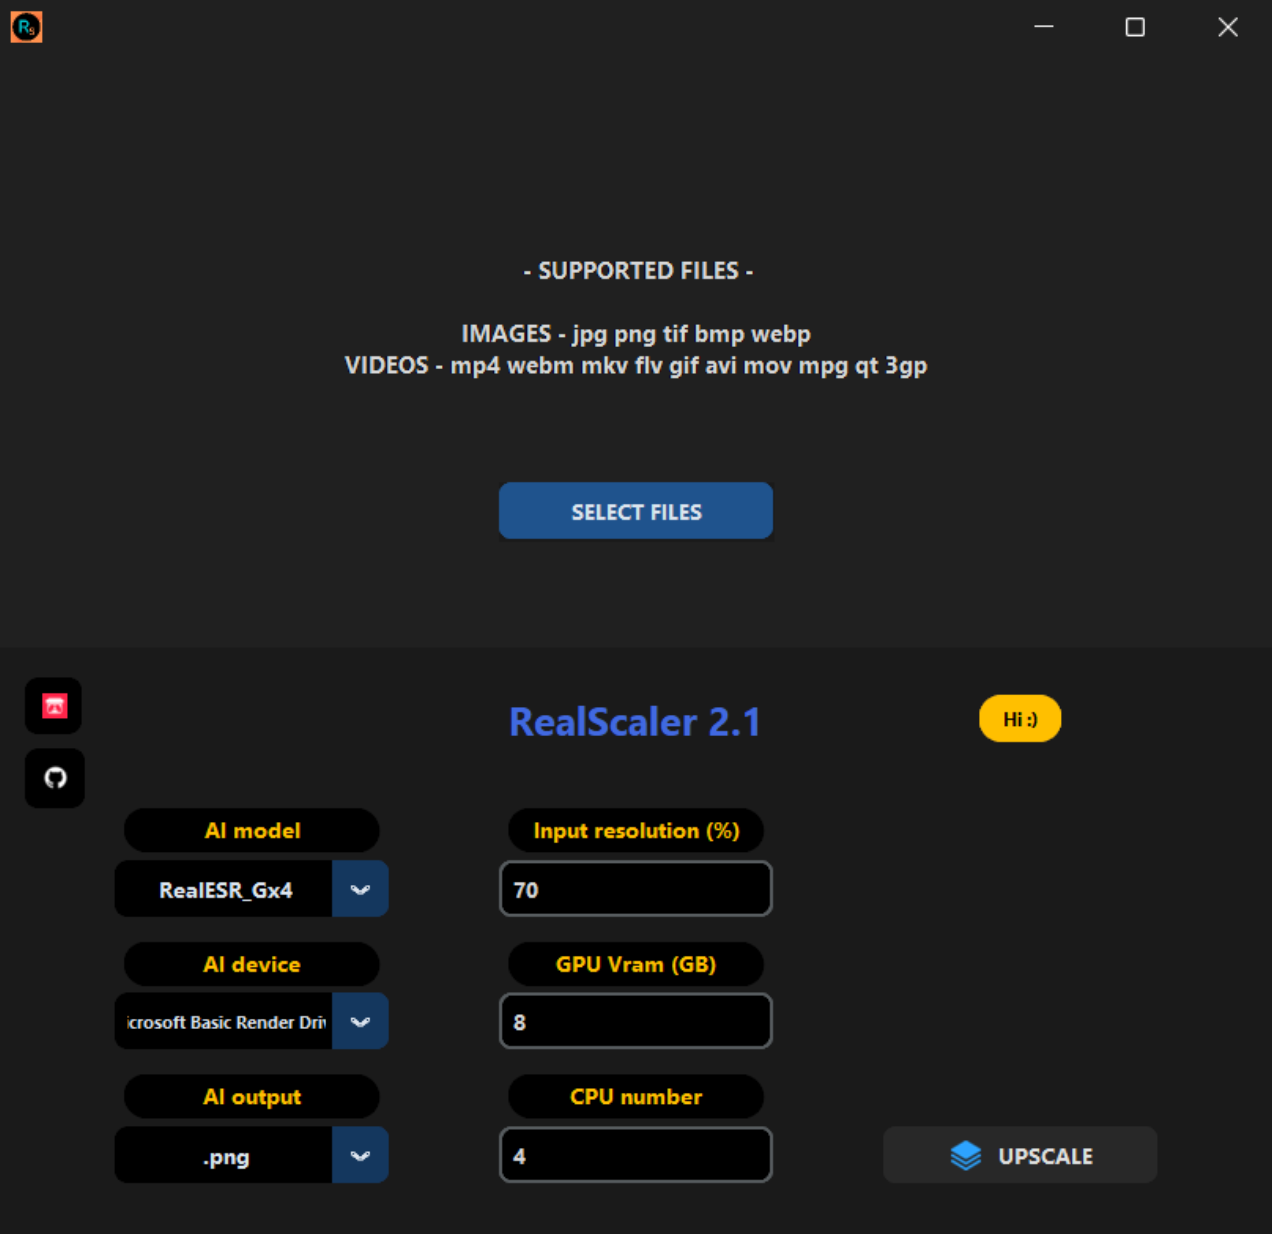
Interface and Workflow
The interface of both tools looks almost identical, QualityScaler currently has an extra “AI mode” feature, which I suspect will come to RealScaler in the future as well.
The workflow is very simple. Select the file you want to upscale, set the parameters to your liking, and press “Upscale”. Depending on your hardware, the upscaling process can take a long time. The small yellow textbox will inform you about the progress. The output location is identical to the source location of the upscaled file.
AI models
These are all the AI models currently supported by the two tools.
| QualityScaler 2.2 | RealScaler 2.1 |
| BSRGANx4 | RealESR_Gx4 |
| BSRNetx4 | RealSRx4_Anime |
| RealSR_JPEGx4 | RealESRGANx4 |
| RealSR_DPEDx4 | RealESRNetx4 |
| RRDBx4 | |
| ESRGANx4 | |
| FSSR_JPEGx4 | |
| FSSR_DPEDx4 |
AI modes
Full Precision: Uses 32 bits to represent floating-point values, providing higher precision but at the cost of more memory usage and potentially slower speed.
Half Precision: Uses 16 bits to represent floating-point values, providing lower precision but with the benefit of less memory usage and potentially faster speed.
The tiling issue
Upscaling images demands a lot of VRAM. So much so that my enthusiast-grade RTX2060 graphics card with 6 Gigabytes of VRAM has trouble upscaling pictures larger than 600x600px with QualityScaler or 1200x1200px with RealScaler.
To combat this, both tools come with a feature that subdivides pictures into multiple tiles, upscales these single tiles, and then recombines them into a full image.
Sadly, at the time of writing this, the tiling feature creates visible lines within the image.

I have contacted the developer of the two tools and got the response that he is working to address this issue.

Upscaling DVDs
The test results made me curious if it was feasible to upscale entire movies but since electricity is not cheap in my country, I did not want to leave my computer running for multiple days just to test this. Instead, I took a 5-minute clip of one of my favorite movies and upscaled that instead. I used RealScaler, as QualityScaler is a lot more resource intensive and also takes more time to complete.
From the results, it should be possible to estimate the time it would take to upscale the entire movie.
Test Parameters
Movie
| Parameter | Value |
| Movie | Deadpool |
| Resolution | 720 x 428 (DVD) |
| Full Length | 1:41:46 |
| Test Clip Length | 0:05:00 |
RealScaler settings
| Setting | Value |
| AI model | RealESR_Gx4 |
| AI device | RTX2060 |
| AI output | .png |
| Input resolution | 70% |
| GPU VRam | 6 |
| CPU number | 8 |
Hardware
| Processor | Intel i5-12600k |
| Memory | 32GB DDR4 |
| Graphics | nVidia GeForce RTX 2060 6GB |
Test Results
| Test Clip Upscale Time (in seconds) | 2124 sec. |
| Estimated Upscale Time Full Movie | 722 min. / 12.03 hrs. |
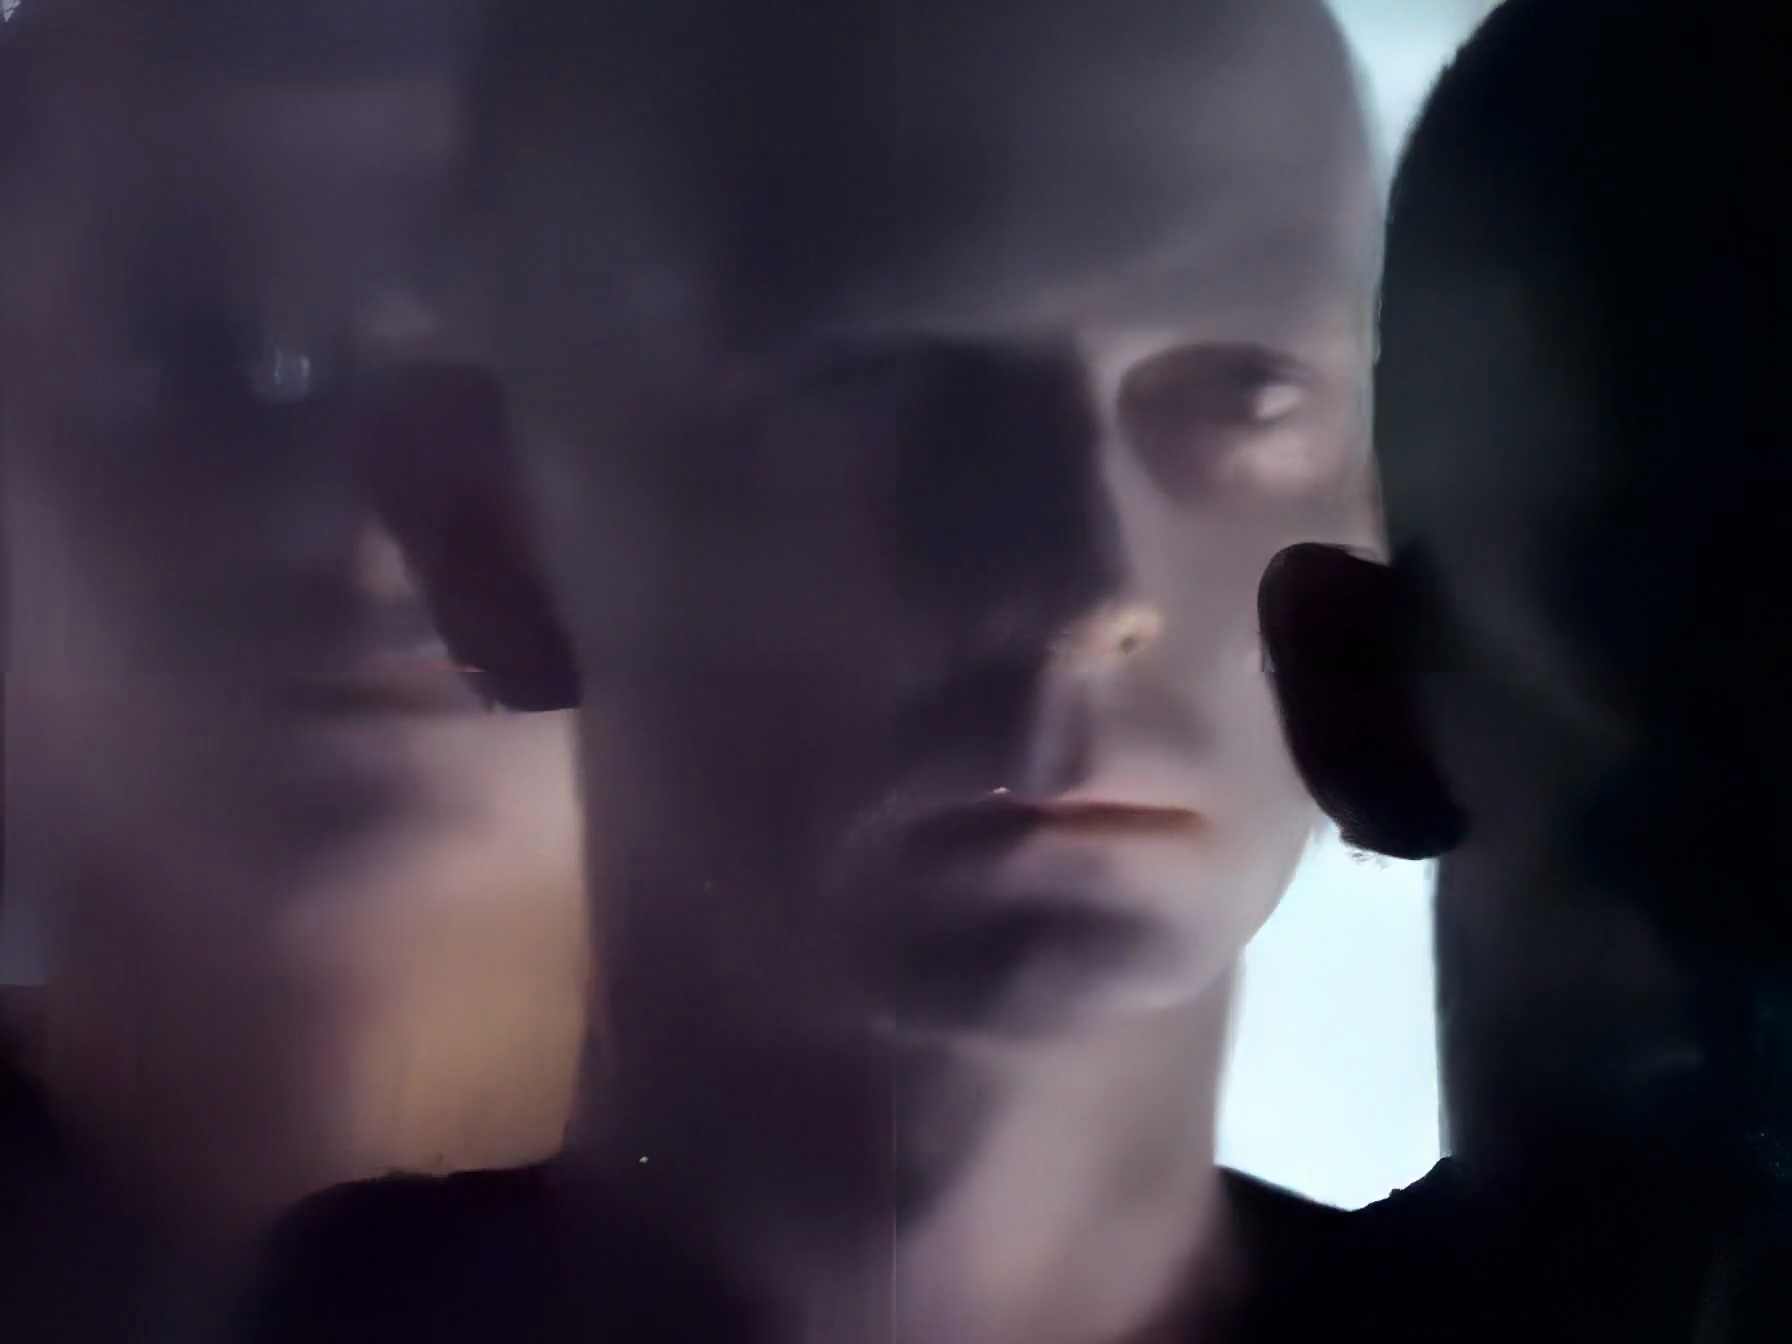
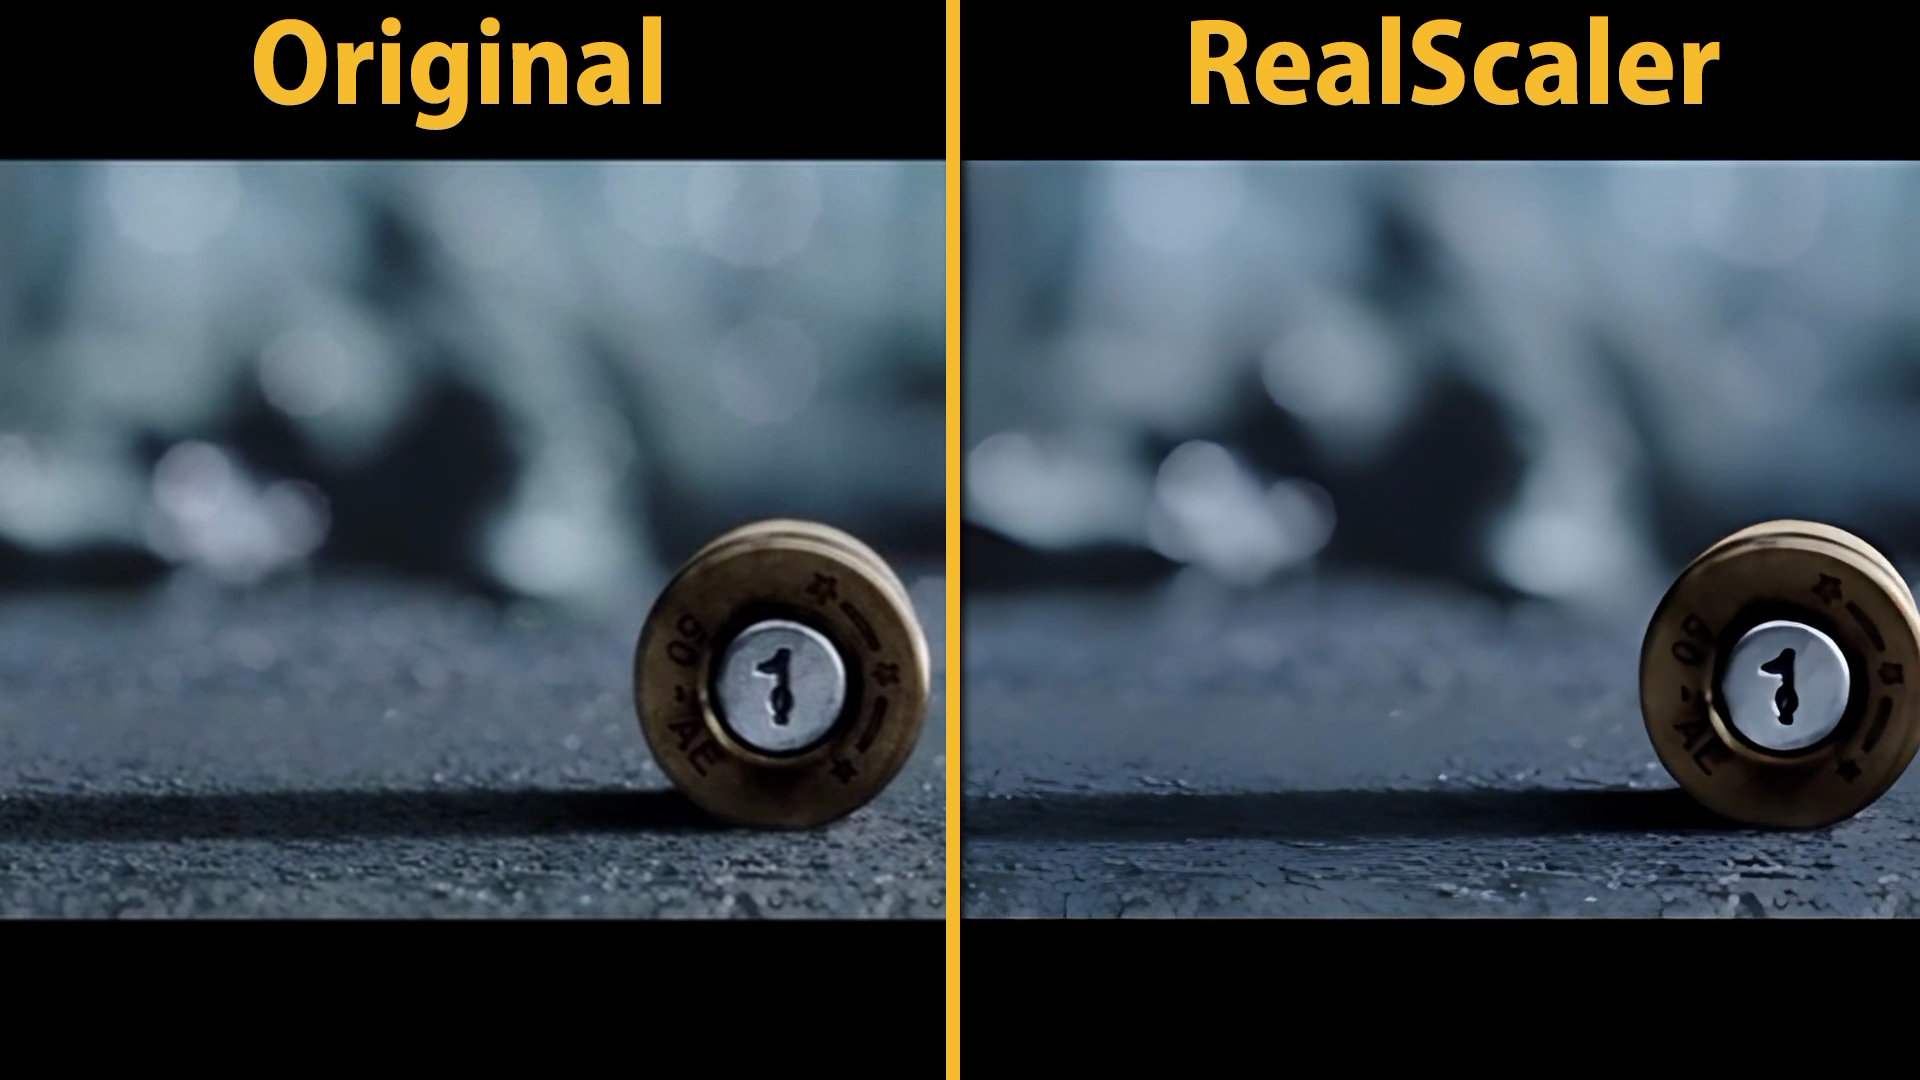
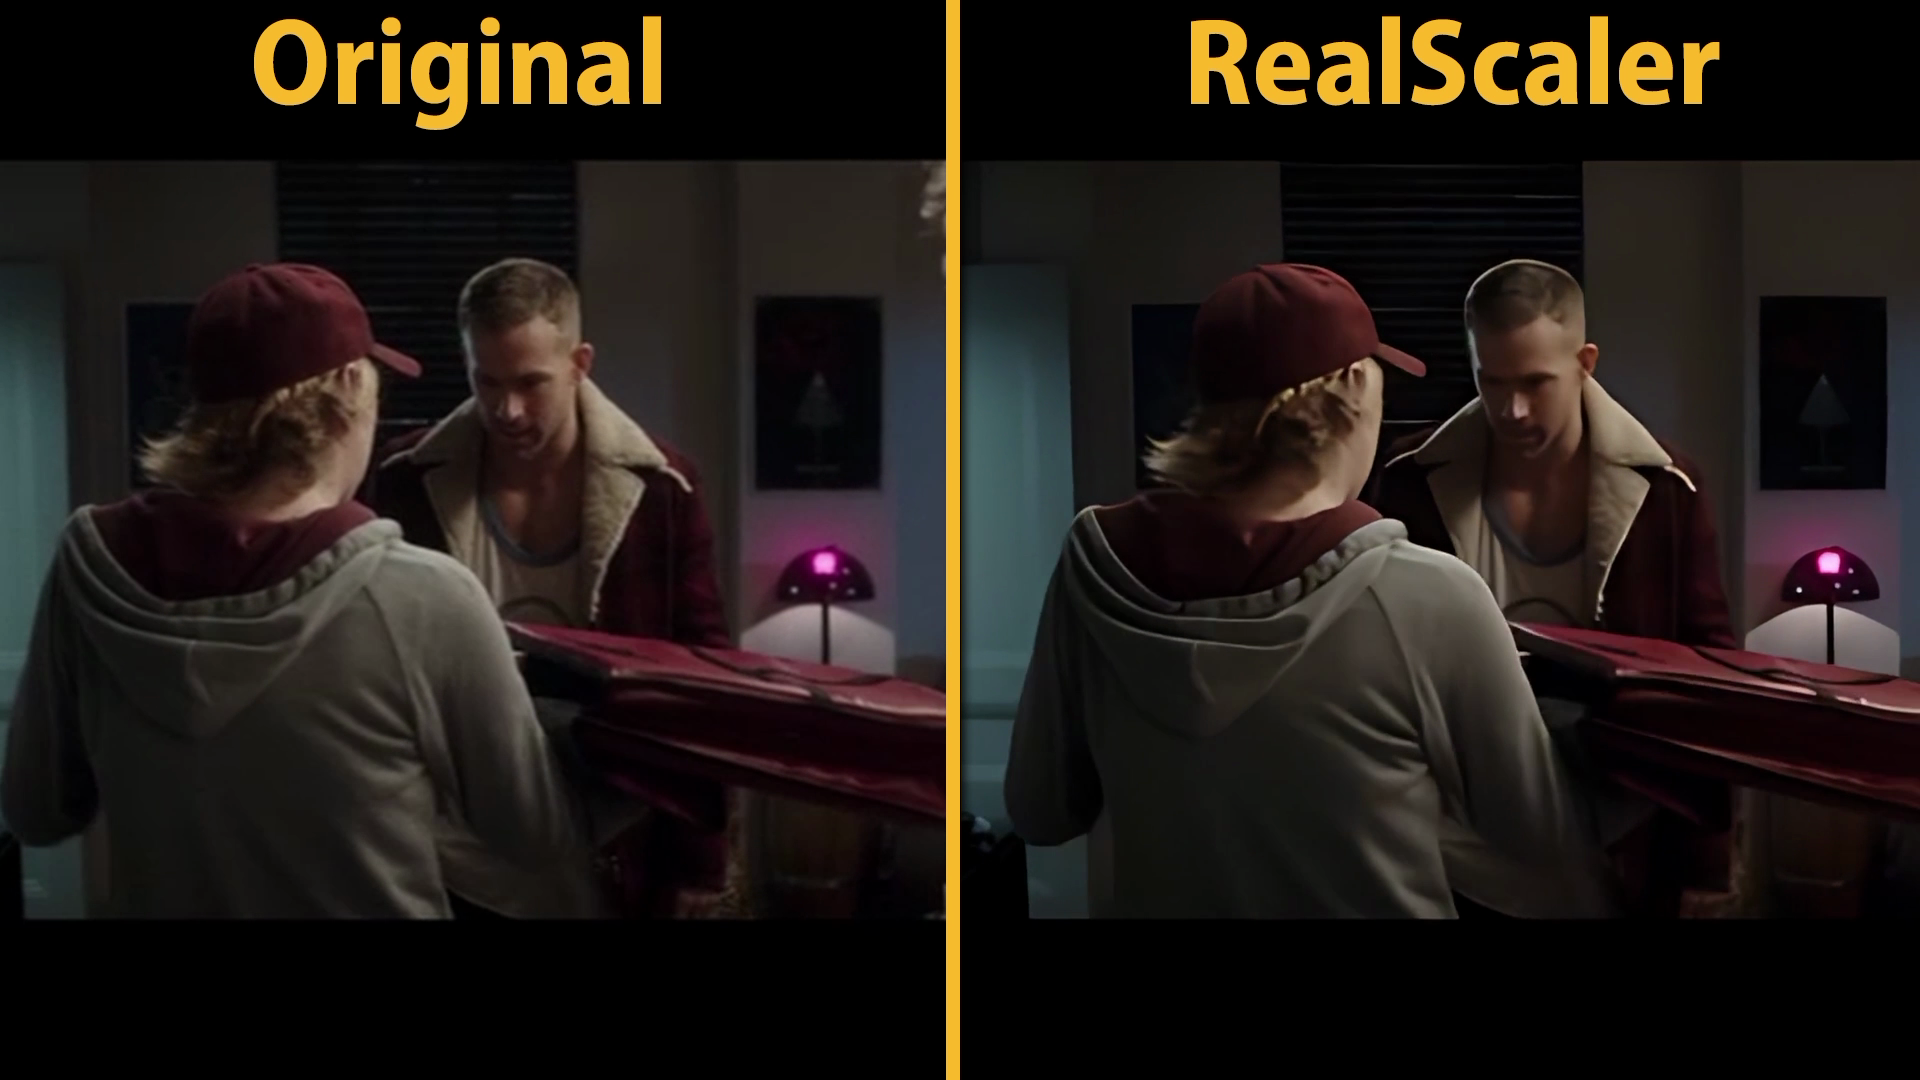
Example Images
Conclusion
QualityScaler and RealScaler are two powerful tools to upscale photos and videos. Depending on your needs and the hardware you have access to, both are viable options, each with its advantages and disadvantages.
While real-world videos and movies may not look as authentic when upscaled, animated content can benefit a lot from upscaling.
Screenshots do not do the result justice, so if you can, you should watch the video on YouTube.