
This guide will explain how to set up a Nessus installation on a Linux server. This guide will use Ubuntu Server 22.04.1 LTS but most Linux servers should work just fine.
Time: 15 minutes
Difficulty: Beginner
Table of Contents
Prerequisites
This guide is going to assume that you have already set up a Linux server and are able to connect to it via SSH. The server will also need access to the internet in order to download and activate Nessus.
What is Nessus?
Nessus is a proprietary vulnerability scanner developed by Tenable, Inc.
https://en.wikipedia.org/wiki/Nessus_(software)
Nessus is a tool that allows the user to scan systems for known vulnerabilities and generate detailed reports about everything that has been found. Nessus can be configured to automatically scan on a schedule, which is used by many companies to automate their security processes.
Download Nessus
The Nessus download can be found here:
https://www.tenable.com/downloads/nessus
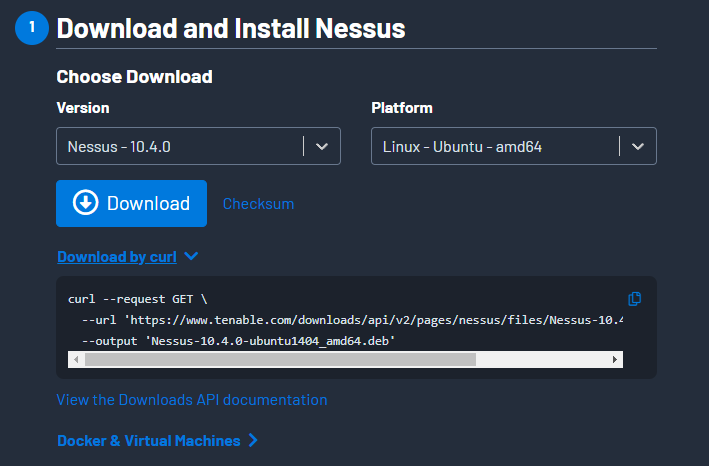
Select the version and platform of your choice (For me: Nessus 10.4.0, Linux – Ubuntu – amd64) and select “Download by curl”. Copy the download command and execute it on your server.
user@nessus:~$ curl --request GET \
>   --url 'https://www.tenable.com/downloads/api/v2/pages/nessus/files/Nessus-10.4.0-ubuntu1404_amd64.deb' \
>   --output 'Nessus-10.4.0-ubuntu1404_amd64.deb'
  % Total    % Received % Xferd  Average Speed   Time    Time     Time  Current
                                 Dload  Upload   Total   Spent    Left  Speed
100 54.1M    0 54.1M    0     0  10.0M      0 --:--:--  0:00:05 --:--:-- 11.1M
Install Nessus
Once the download has finished you can use the following command to start the installation:
sudo dpkg -i Nessus-10.4.0-ubuntu1404_amd64.deb #Change the package nameThe installation will take a few minutes. Once completed, you will see the command to start Nessus and the port that Nessus will be accessible at. If your network is configured correctly, you should be able to browse Nessus via:
https://YOUR_IP:8834Nessus will now ask you to register and license your installation. If you want to run the free version, select “Nessus Essentials” and follow the on-screen instructions. Once completed you will be able to log into the web interface of Nessus. Depending on the performance of your server you may see a message about Plugins that are still being compiled. This may take some time. Get a coffee, this may take a little while. Nessus will inform you when the installation has been completed.
The first scan
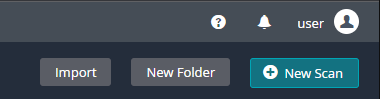
To create your first scan, select “New scan” in the top-right corner.
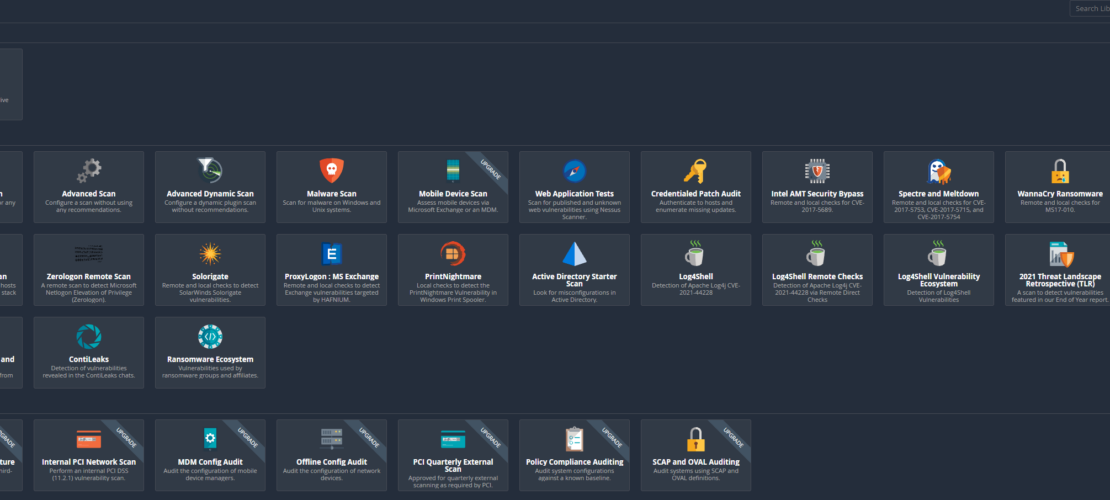
You will see a great variety of available scans. If you want to scan your network for devices and open ports, select “Host Discovery”. If you have a particular system in mind that you want to scan, start with “Basic Network Scan”. We will go with the “Basic Network Scan”.
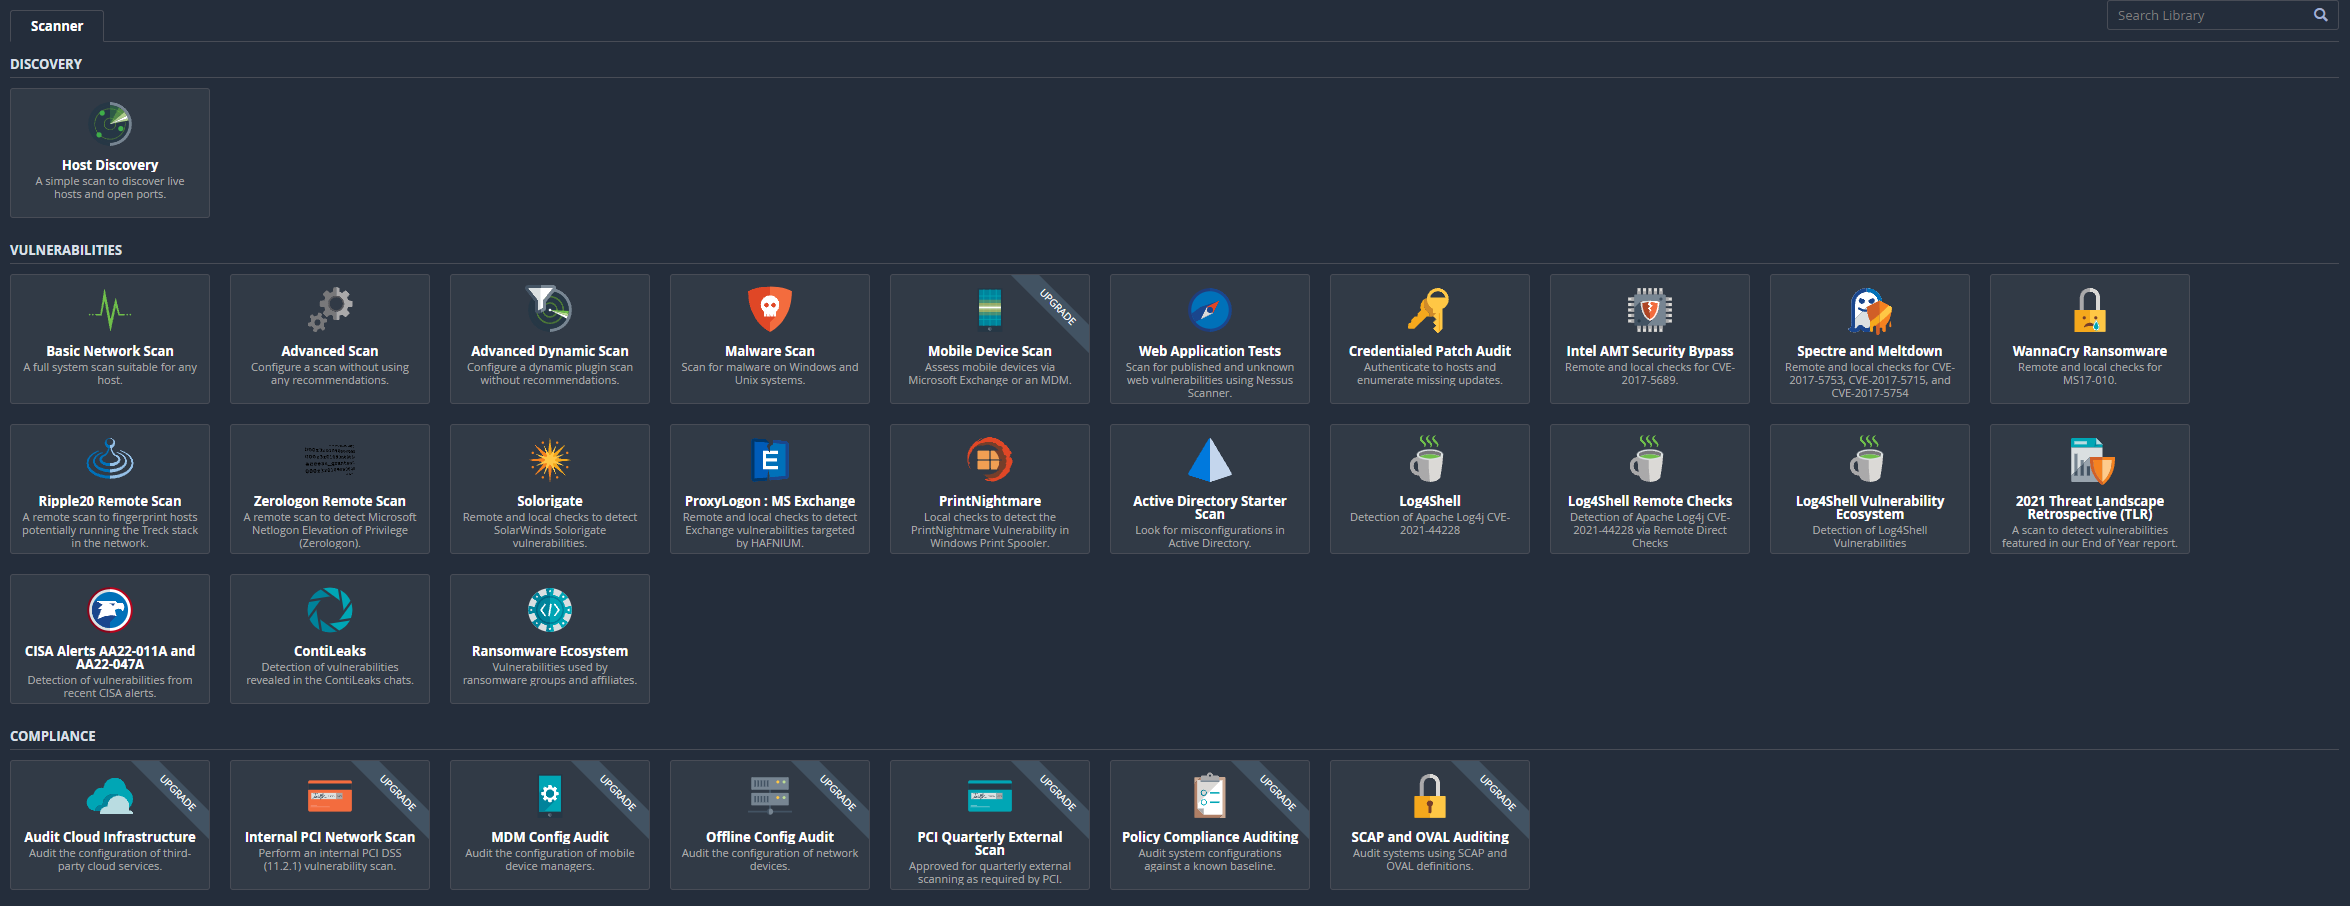
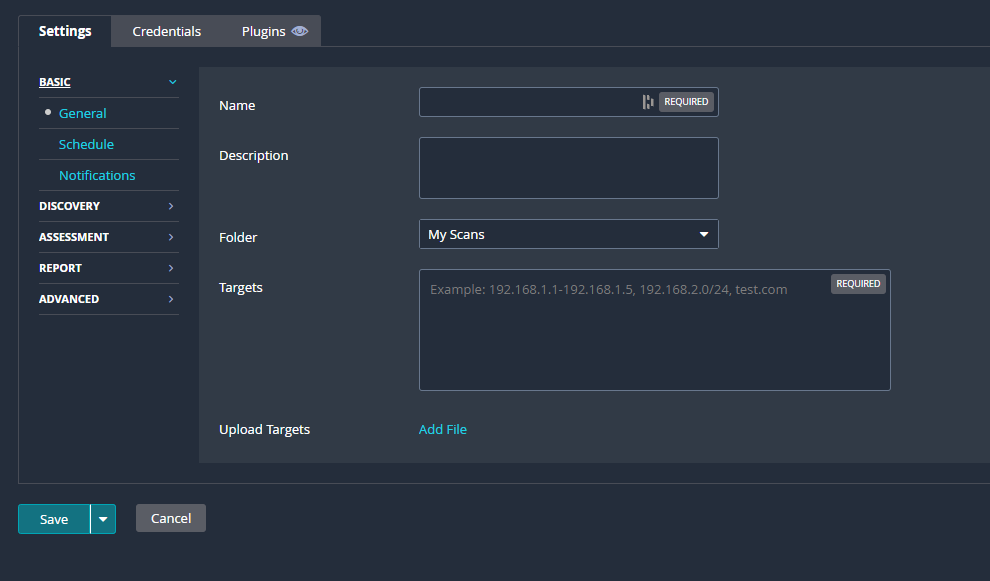
The “Basic Network Scan” does not need a lot of details to start. You need to give it a name and a target. If you want to customize your scan you could change settings for the discovery or give Nessus some usernames and passwords. Once you are done, click save.
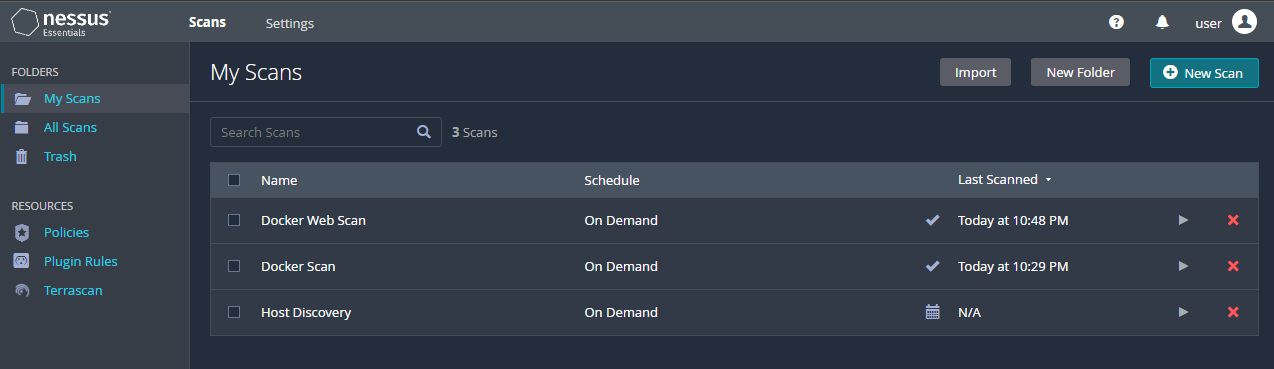
Your configured scans will be listed in the “My Scans” menu. You can start a Scan with the “play” button on the right side of your screen.
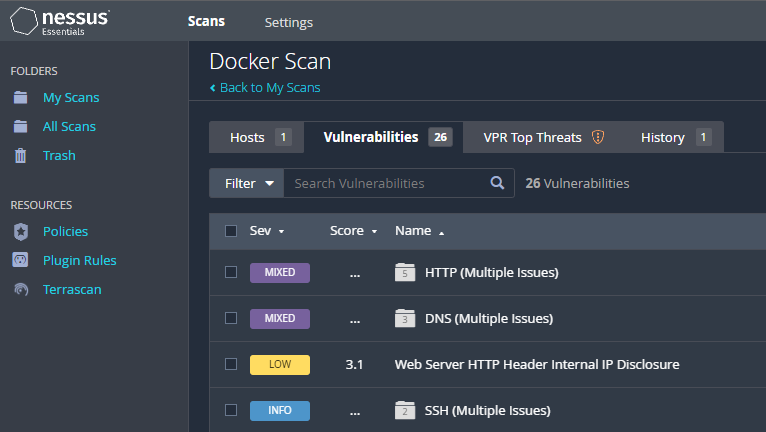
Once a scan has finished you can view everything that has been found. Nessus will try and rate these findings, but it is always good to manually check.
The End
That’s it – Now you know how to install Nessus und configure your first scan. Please let me know if there is anything missing from this guide.