

This guide shall demonstrate how to mine the cryptocurrency “Monero” with a Raspberry Pi using the tool “xmrig”.
Difficulty: Beginner
Time: 20 – 30 Minutes
Table of Contents
Prerequisites
- Raspberry Pi
- SD Card
- Acces to a computer with an internet connection
I will be using a Raspberry Pi 4 in this demonstration, however, this will also work with a Raspberry Pi 3.
Installing Raspberry Pi OS 64-bit
Raspberry Pi OS download: LINK
Raspberry Pi Imager download: LINK
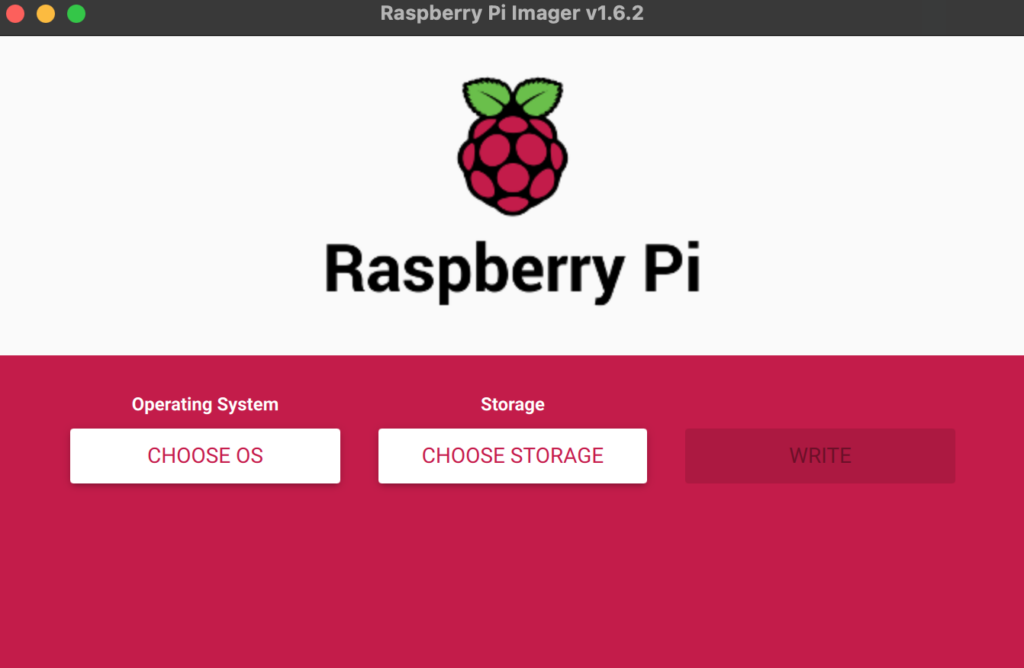
Download the Raspberry Pi Imager and the Raspberry Pi OS from the links above. Install the Raspberry Pi Imager and unpack the Raspberry Pi OS Image. Once that is done insert your SD card into your preferred device and start the tool.
Select “Choose OS“, scroll down to the “Custom” section and select it. You will be prompted to select the image you want to install. Browse to the path where you saved the Raspberry Pi OS image and select it. (1)
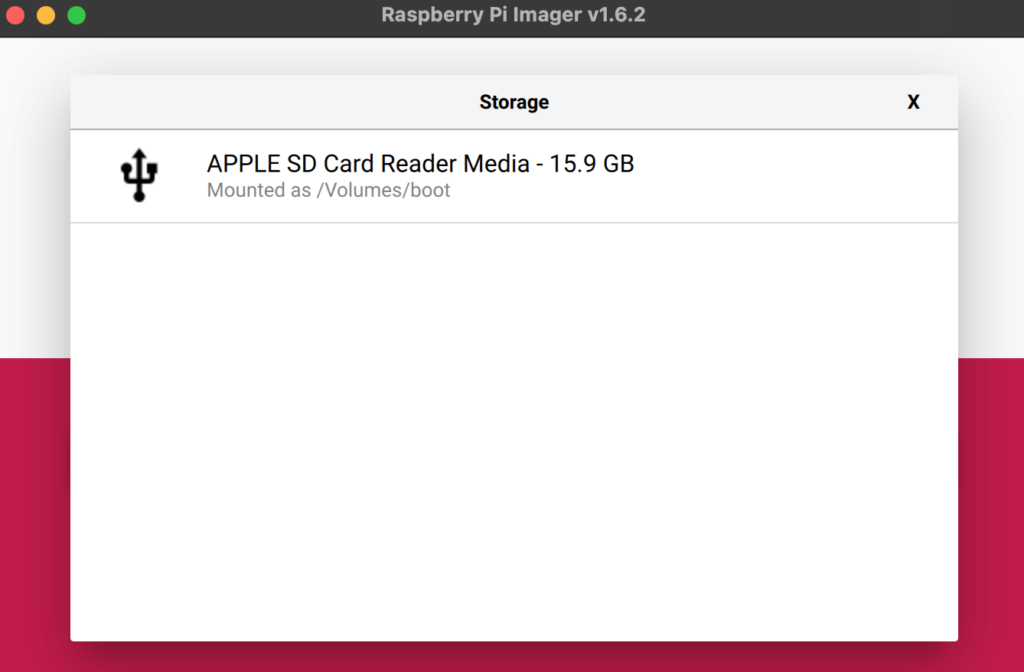
Next, Select “Choose Storage” and pick your SD card. (2)
Click “Write” to start the installation process. You will then be informed that this will erase all contents of the SD card. Be sure that there is nothing on your SD card that you still need. (3)
Once that is done you can confirm and close the tool.

Prepare the Raspberry Pi for headless access (SSH)
The only way to connect to your Raspberry Pi will be over SSH (Secure Shell). In order to enable SSH on the first boot, create a file called “ssh” in the root directory (main directory) of your SD card.
Windows: Simply browse the SD card with Windows Explorer and create a file called “ssh” with the text editor. Make sure to save the file WITHOUT the ‚.txt‘ ending. To do so you might need to turn on „Show file extensions“.
MacOS: Can be done the same as Windows, or via the Terminal application.
touch /Volumes/boot/sshNote: There is no visible output for this operation. If you get an error like “directory” not found, remove and insert the SD card. I found that my Macbook needs this in order to access the card.
Linux: Can be done the same as Windows, or via the Terminal application.
touch /path/to/your/sd_card/sshNote: Again, there will be no visible output. Stay true to the slogan „No error, No problem“.
The Raspberry Pi will treat the empty file as an indicator that you want SSH enabled and will perform the basic setup during the boot process. Now all you need is a network connection. Read on to learn about the headless Wifi setup. If you don’t need wifi for your use case you can skip the next section and start your Raspberry Pi.
Setup Wireless in headless mode (optional)
Since you will not be able to access the Raspberry Pi’s CLI once it is running, we need to make sure that the Wifi will connect automatically. This can be done by preparing a file called “wpa_supplicant.conf”. This file will contain all details that the Raspberry Pi needs for a successful connection.
First, you have to create a file on the root directory (main directory) of the SD card.
Windows: Simply browse the SD card with the Windows Explorer and create a file called “wpa_supplicant.conf”. Copy-Paste the text below and edit the details to match your Wifi. There might also be a way to use the command line, but I am not fluent with it.
MacOS: Can be done the same as in Windows or via the Terminal application.
touch /Volumes/boot/wpa_supplicant.conf
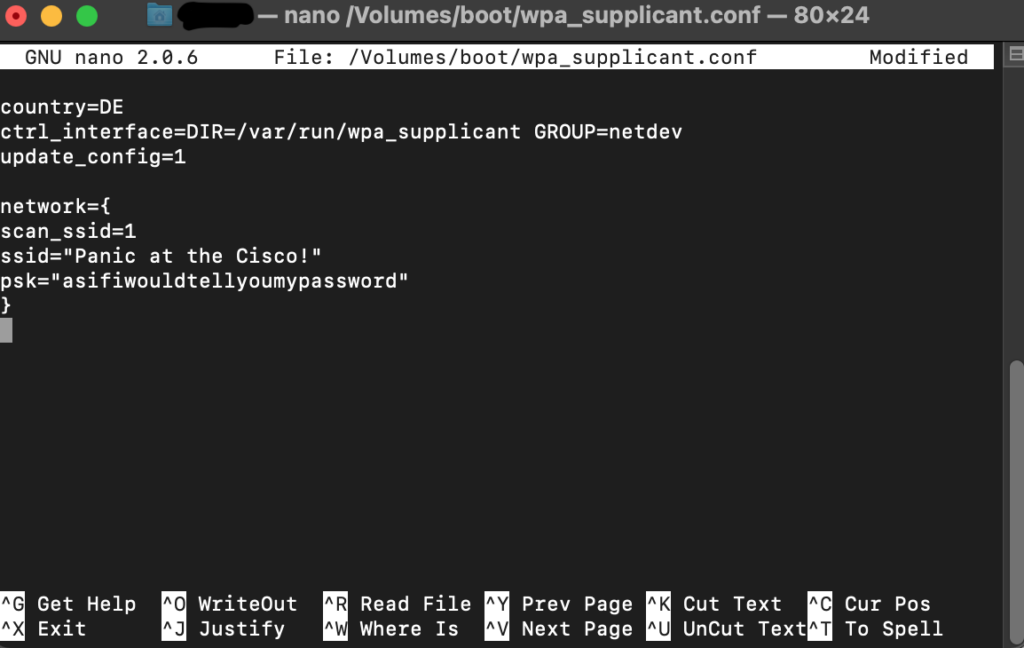
nano /Volumes/boot/wpa_supplicant.confCopy-Paste the text below, edit the details to match your Wifi, save the file with CTRL + O → Enter and exit the file with CTRL + X → Enter.
Linux: Can be done the same as in Windows, or via the Terminal application, depending on your system.
touch /path/to/your/sd_card/wpa_supplicant.conf
nano /path/to/your/sd_card/wpa_supplicant.conf
Copy-Paste:
country=your_country_code
ctrl_interface=DIR=/var/run/wpa_supplicant GROUP=netdev
update_config=1
network={
scan_ssid=1
ssid="your_wifi_ssid"
psk="your_wifi_password"
}
Change the following values:
- country
- ssid
- psk
You can find your country code here:
If you managed to enter all the details correctly, the Raspberry Pi should connect to your wifi on the first start.
Connect to the Raspberry Pi with SSH
In order to connect to your Raspberry Pi over SSH, you can either use the hostname or the IP address. The hostname of a fresh Raspberry Pi will always be “raspberrypi”. If you already have a device with that hostname in your network, you will need to use the IP address, which should be visible on the web interface of your router.
If you prefer to use the IP address and only have ONE device with the hostname “raspberrypi” you can use the “nslookup” command to retrieve it. Open a terminal / command line window and type:
nslookup raspberrypiThe returned address should be your Pi’s IP address.
:~$ nslookup raspberrypi
Server:		192.168.0.1
Address:	192.168.0.1#53

Name:	raspberrypi
Address: 192.168.0.60
If you do not get an address back you should check your router to see if the device is connected. Maybe you mistyped the password earlier? No worries tho if that is the case you can just edit the file on the SD card again.
To establish the connection just open a terminal or command line window and type one of the following statements and hit enter:
ssh pi@raspberrypiOR
ssh pi@ip_addressThe username of a fresh Raspberry Pi will always be “pi” and the password will be “raspberry”.
Note: Please change the password as soon as possible!
You should now be connected to your Raspberry Pi.
Install the mining software
To actually mine crypto with your Raspberry Pi you will install a tool called “xmrig“.
Github page: LINK
In order to install and use xmrig you can copy and paste the commands below:
sudo apt update
sudo apt install git build-essential cmake libuv1-dev libssl-dev libhwloc-dev -y
git clone https://github.com/xmrig/xmrig.git
cd xmrig
mkdir build
cd build
cmake ..
makeNote: Please be careful with random commands on the internet. You should always check what the code is doing, especially if superuser access is used!
The commands above should install all necessary dependencies (2), clone xmrig from GitHub (3), create a folder for the build (5, 6) and finally build the tool from source code (7, 8).
Start mining
In order to start mining, you will need two things. A wallet for your earnings and, more importantly, a mining pool. Mining pools and crypto wallets are a whole different topic that I might cover at a later date. In this example, we are going to use a pool called “Monero Ocean” and a crypto wallet from “Freewallet.org“.
Monero Ocean website: LINK
Freewallet website: LINK
Note: Online Wallets are not as secure as they claim. Storing your crypto online makes it potentially accessible to hackers. If you want to mine seriously, please consider an offline wallet.
To start mining, all you need to do is run this command from the build folder:
sudo ./xmrig -o gulf.moneroocean.stream:10002 -u your_wallet_address -p name_of_your_deviceIf you want to have this running in the background, you can use a tool called “screen“.
sudo apt install screen -y
screen sudo ./xmrig -o gulf.moneroocean.stream:10002 -u your_wallet_address -p name_of_your_device
Press CTRL-A then D to detach from the screen session. To reattach you can use the command
screen -r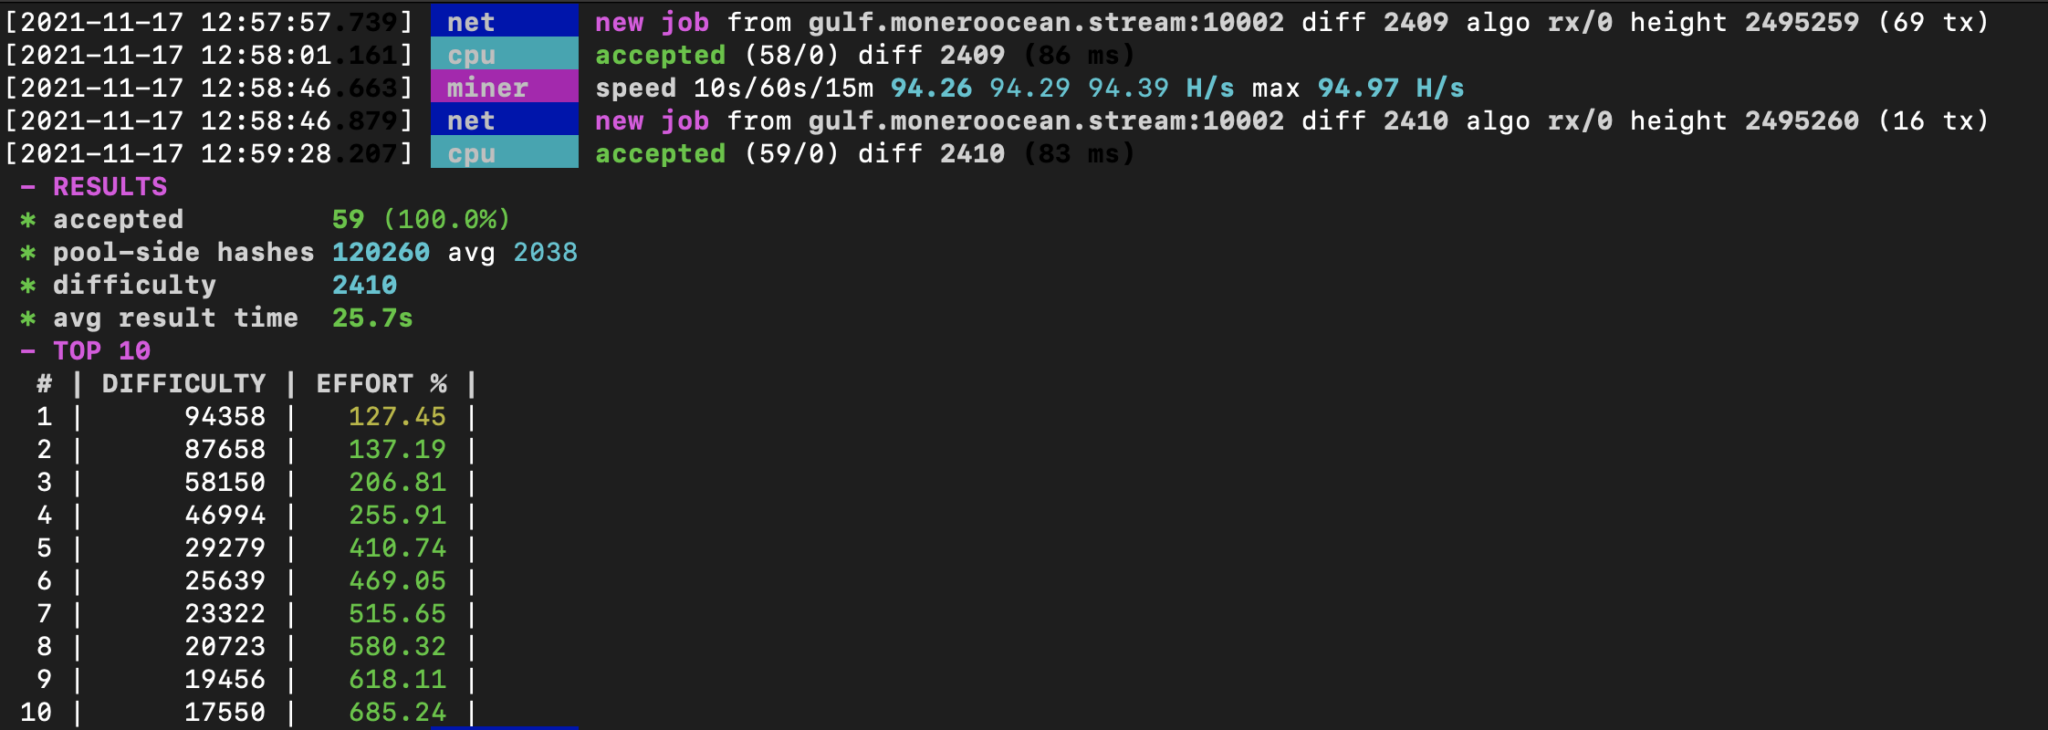
Monitor your earnings
To be completely clear, you will not make any big earnings with this setup. Even worse, you are probably losing money if you mine with a Raspberry Pi 4. Considering electricity and hardware cost, this might be the single worst financial decision you can make. But still, if you want to dive into this topic, why not start with what you have?
In order to monitor your earnings in the Monero Ocean pool, you can visit their website and enter your wallet ID.
Monero Ocean website: LINK
My Raspberry Pi 4 would make me a whopping 1,06€ per year!

As far as the FAQ goes, payouts will be done automatically as soon as you have acquired at least 0.003 XMR. Not that I would know because my Raspberry Pi 4 will take forever to reach that.
Step 8: Verdict
This is a fun little side project if you have unused hardware laying around and don’t have to worry about electricity costs. It is in no way profitable and should not be considered for passive income.
THE END
Thank you for reading this article. I hope everything was described clearly. If you have any questions, do not hesitate to leave a comment! I will try to answer your questions.