

This guide shall demonstrate the setup process for NextCloudPi. I will go over the initial installation and useful post-setup steps.
Table of Contents
Prerequisites
- Raspberry Pi
- SD card
- Computer with internet access
For the purpose of demonstration, I will be using a Raspberry Pi 4 (8GB). This guide should work on basically any Raspberry Pi but depending on the device the performance might differ. I highly recommend a Raspberry Pi 4 as Gen. 4 is the first with Gigabit Ethernet.
Initial Setup
NextCloudPi Image download: LINK
BalenaEtcher download link: LINK
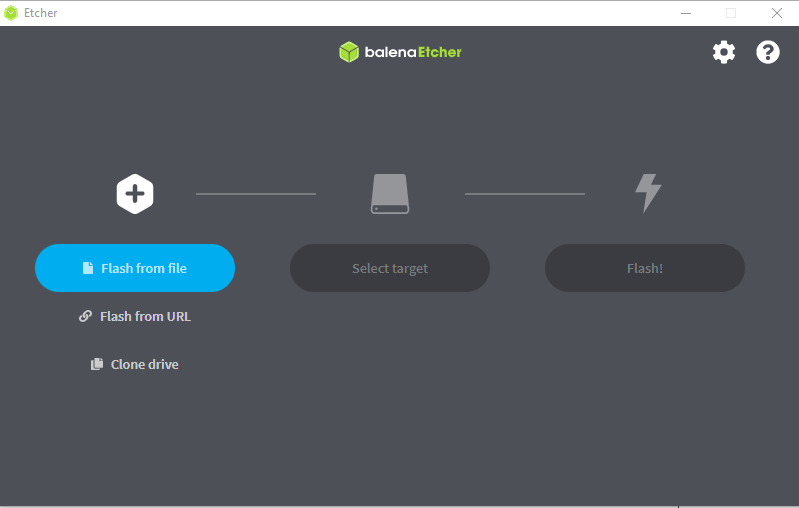
Download and extract the NextCloudPi image from the link above. To extract the file you can use 7-zip. Download BalenaEtcher as well. We will use Etcher to copy the image to our SD card.
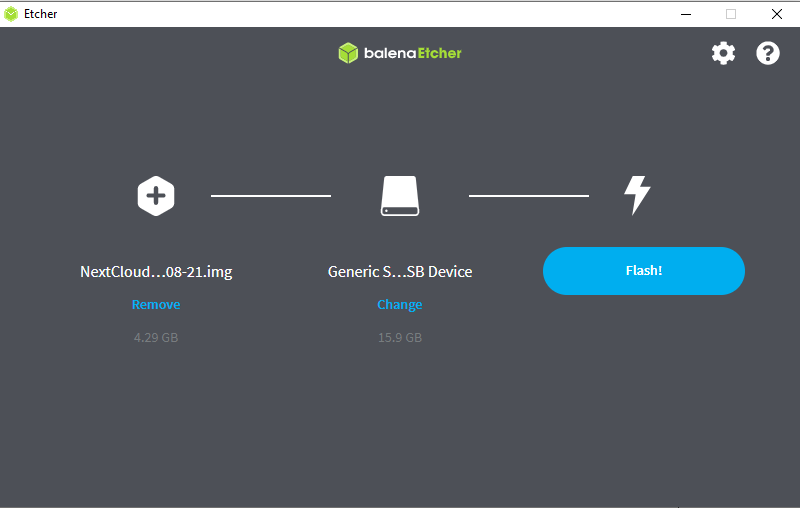
Start BalenaEtcher and select the NextCloudPi image as well as your SD card. Start the process by clicking “Flash!“. The tool will inform you once the image has been written.
If you want to run your installation over wifi you will need to set that up as well. The NextCloudPi image does not come with a graphical user interface (GUI). Please check my guide on how to set up a headless Raspberry Pi for instructions on how to get wifi to work without a GUI.
Setup a headless Raspberry Pi (Wifi & SSH)
Once that is sorted out you can insert the SD card into your Raspberry Pi and let the system boot.
Configuring NextCloudPi
Wait for your Raspberry Pi to boot. It may take a few minutes to complete the initial setup. Once that is done you should be able to reach the web interface with this address:
https://nextcloudpi/If that is not the case you will need to look up the IP address of your device. This can be done on your router but the way to do this is different depending on the model. Once you have figured out the IP address of your device you can connect to the web interface:
https://IP_ADDRESS/The resulting website should look like this:
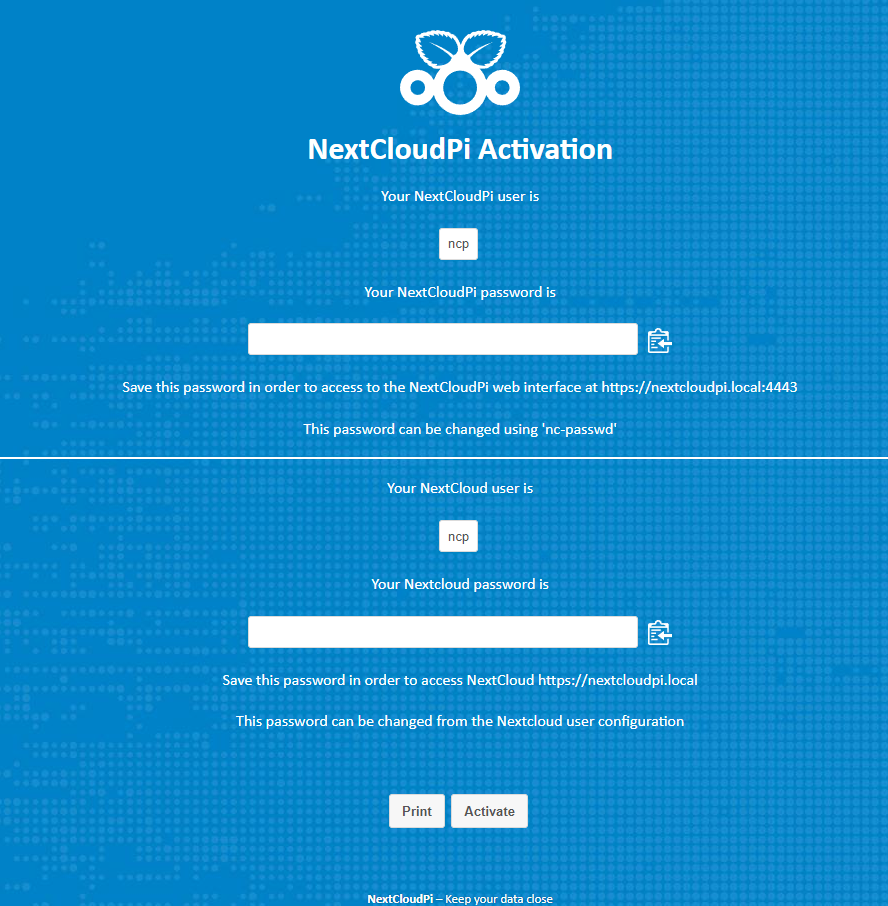
Please save both passwords! The first one will be needed for the NextCloudPi Admin panel, the second one is your login on the NextCloud instance itself.
Once you have saved both passwords you can click “Activate”. This will take a few seconds and will be followed up by a login prompt for the NextCloudPi admin page. Use the ncp user and the first password.
Next, go through the setup wizard and configure NextCloud to your own liking.
From that point onward there are two different addresses that you should keep in mind.
| https://nextcloudpi/ | The NextCloud instance itself |
| https://nextcloudpi:4443/ | The NextCloudPi admin interface |
If you want to work with NextCloud or need to configure something for the application itself you need to use the first address. If you want to configure something that is related to the backend, you need to use the second link.
At this point, the basic installation is completed.
Make NextCloud publicly accessible
If you want your NextCloud instance to be publicly accessible you need a few things:
- A router with port forwarding capability
- Either a static public IP, or a dynamic DNS service
- A static internal IP
- A registered domain (optional)
This guide will not discuss the setup process of a dynamic DNS service or port forwarding with your router. If you do not know about these topics you should probably do research first, as making something available to the public can be dangerous.
As for NextCloud, here are the steps you need to do.
Assign static IP to NextCloud
Browse your NextCloudPi admin panel (https://nextcloud:4443/) and login. Search for “Static IP address” and enter the IP you want your Raspberry Pi to have.
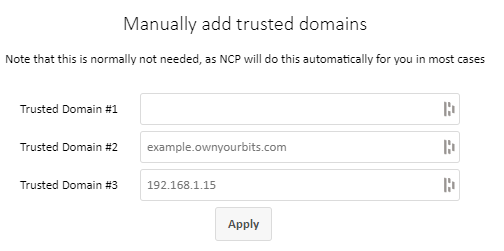
Add trusted domain
Browse your NextCloudPi admin panel (https://nextcloud:4443/) and login. Search for “nc-trusted-domains” and add your domain / public IP to the list. This will ensure that NextCloud allows connections that request data from this address.
As for port forwarding, you will need to forward port 80 for http and port 443 for https. If you want to connect to the NextCloudPi admin pannel you also need to forward port 4443, but I highly recommend not to do this.
The http(s) issue
Another thing to take into consideration is the SSL certificate for https connections. If you want to connect to your NextCloud installation via https, you will need a valid SSL certificate. Otherwise every user will get an error message, telling them that the connection is not secure. If you try to connect via http on a fresh installation, it will redirect to https and give the same error again.
It is possible to disable this redirect and gain access via http. Again, I cannot recommend this, as data transmitted will NOT be encrypted. If you want to do this anyway, here is how:
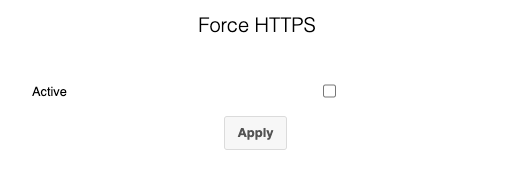
Browse your NextCloudPi admin panel (https://nextcloud:4443/) and login. Search for “Force HTTPS” and disable it.
The End
This should be everything you need to do to get your NextCloudPi installation up and running. I hope this was somewhat helpful. If you have any questions, do not hesitate to leave a comment! I will try to answer your questions.