
This short guide shall demonstrate how to set up a Raspberry PI without the need for keyboard and mouse or a monitor. I will cover everything from the initial installation of Pi OS to changing the hostname and password.
Difficulty: Beginner
Time: 20-30 minutes
Table of Contents
Prerequisites
- Raspberry Pi
- SD Card (min. 16GB) + Reader
- Access to a laptop with an internet connection
I am going to use a Raspberry Pi Zero W as an example in this article. However, this article also works on every other model of the Raspberry Pi family, with the exception of Wifi if the board does not support Wifi.
Install Pi-OS with the Raspberry Pi Imager
Download Link: https://www.raspberrypi.org/software/
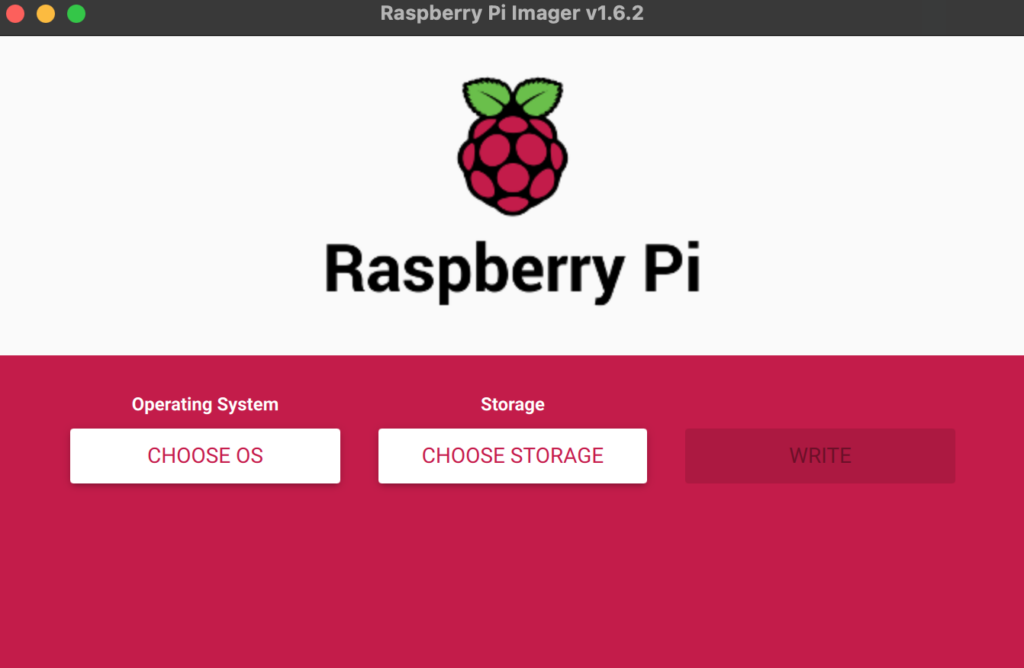
Download and install the Raspberry Pi Imager from the link above. Once that is done insert your SD card into your preferred device and start the tool.
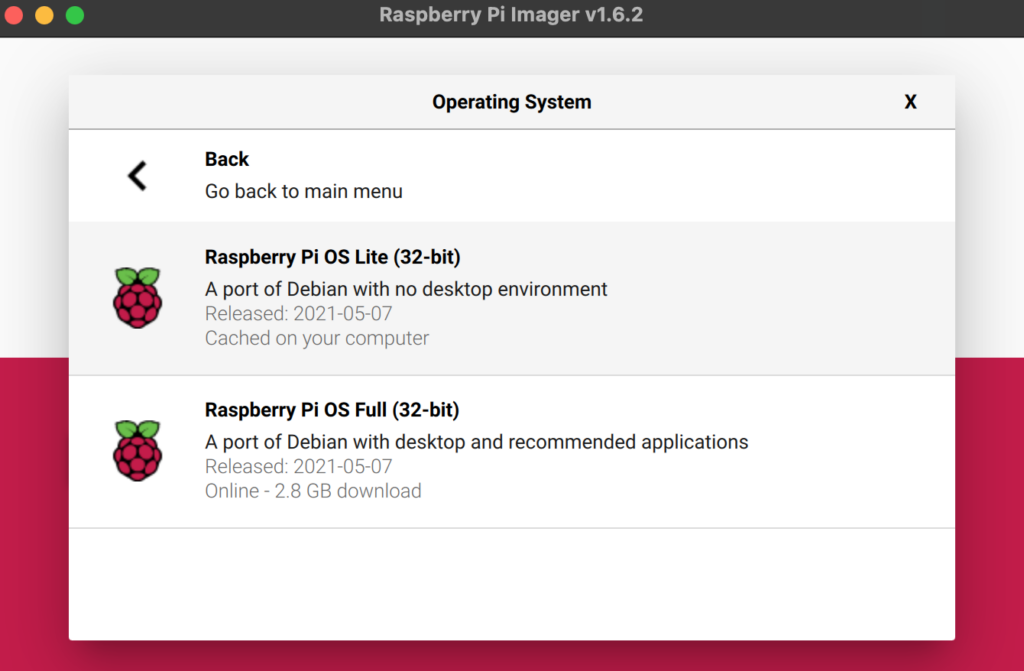
Select “Choose OS” → “Raspberry Pi OS (other)” → “Raspberry Pi OS lite”.
Note: There is currently a “Raspberry Pi OS 64bit” in development. As of today, this version is not listed in the “Raspberry Pi Imager”. If you want to download it, check this link: LINK
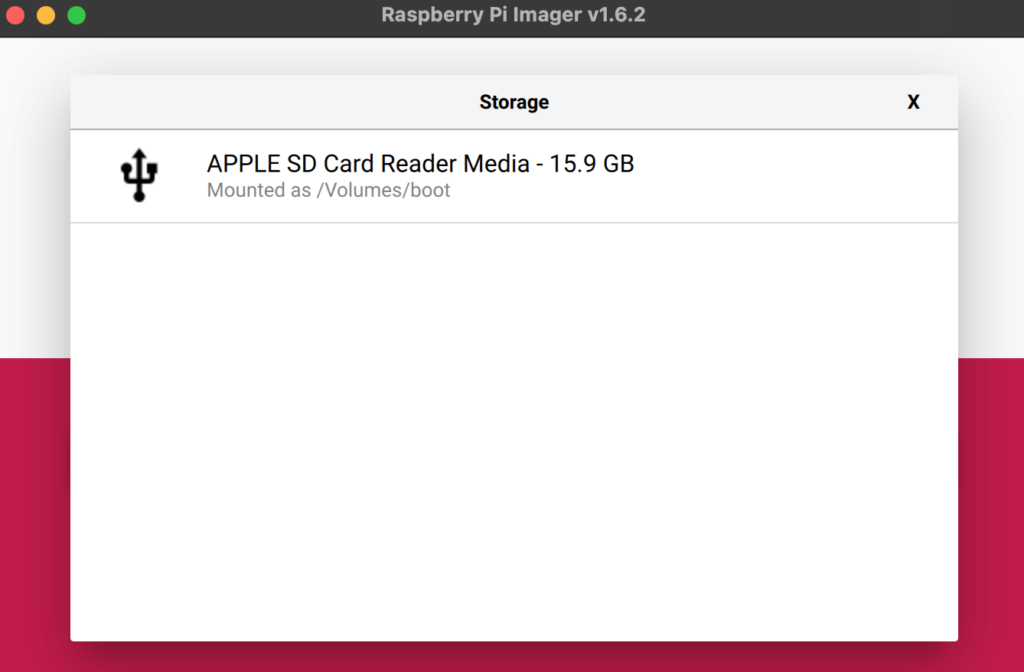
Last, but not least, select the drive you want to install Pi OS to. This should be your SD card.
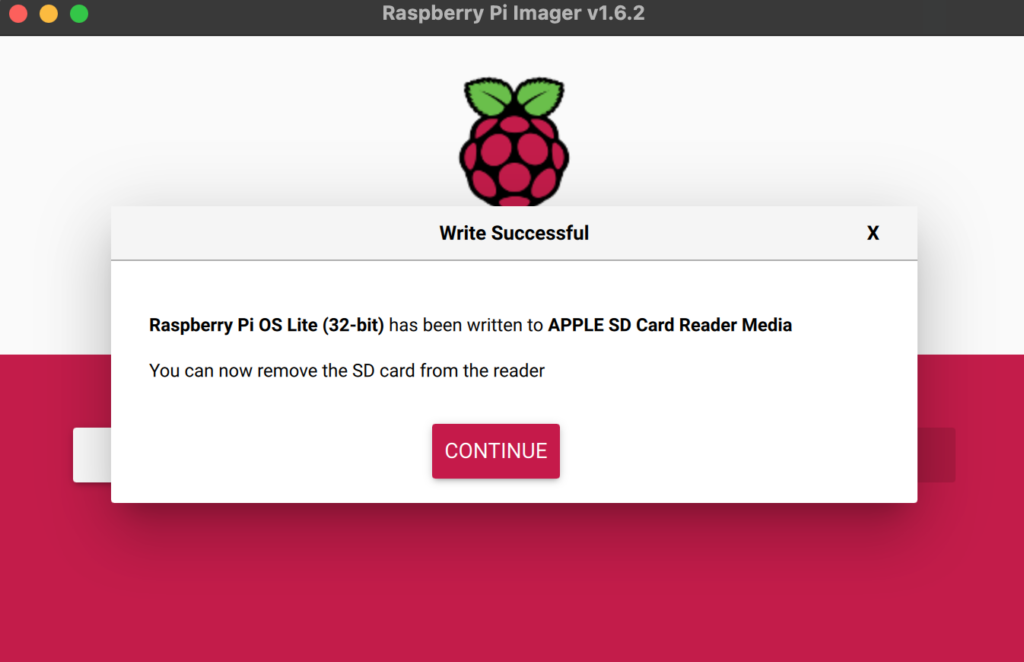
Click “Write” to start the installation process. You will then be informed that this will erase all contents of the SD card. Be sure that there is nothing on your SD card that you still need.

Once the tool is done, Pi OS has been installed onto your SD card.
The basic setup is now done. In the next chapter, you will learn about the SSH setup in headless mode.
Enable SSH in headless mode
The only way to connect to your headless Raspberry Pi will be over SSH (Secure Shell). In order to enable SSH on the first boot, create a file called “ssh” in the root directory (main directory) of your SD card.
Windows: Simply browse the SD card with the Windows Explorer and create a file called “ssh” with the text editor. Make sure to save the file WITHOUT the ‘.txt’ ending. To do so you might need to turn on “Show file extensions”.
MacOS: Can be done the same as Windows, or via the Terminal application.
touch /Volumes/boot/sshNote: There is no visible output for this operation. If you get an error like “directory” not found, remove and insert the SD card. I found that my Macbook needs this in order to access the card.
Linux: Can be done the same as Windows, or via the Terminal application.
touch /path/to/your/sd_card/sshNote: Again, there will be no visible output. Stay true to the slogan “No error, No problem”.
The Raspberry Pi will treat the empty file as an indicator that you want SSH enabled and will perform the basic setup during the boot process. Now all you need is a network connection. Read on to learn about the headless Wifi setup. If you don’t need wifi for your use case you can skip the next section and start your Raspberry Pi.
Wifi access in headless mode
Since you will not be able to access the Raspberry Pi’s CLI once it is running, we need to make sure that the Wifi will connect automatically. This can be done by preparing a file called “wpa_supplicant.conf”. This file will contain all details that the Raspberry Pi needs for a successful connection.
First, you have to create a file on the root directory (main directory) of the SD card.
Windows: Simply browse the SD card with the Windows Explorer and create a file called “wpa_supplicant.conf”. Copy-Paste the text below and edit the details to match your Wifi. There might also be a way to use the command line, but I am not fluent with it.
MacOS: Can be done the same as in Windows or via the Terminal application.
touch /Volumes/boot/wpa_supplicant.conf
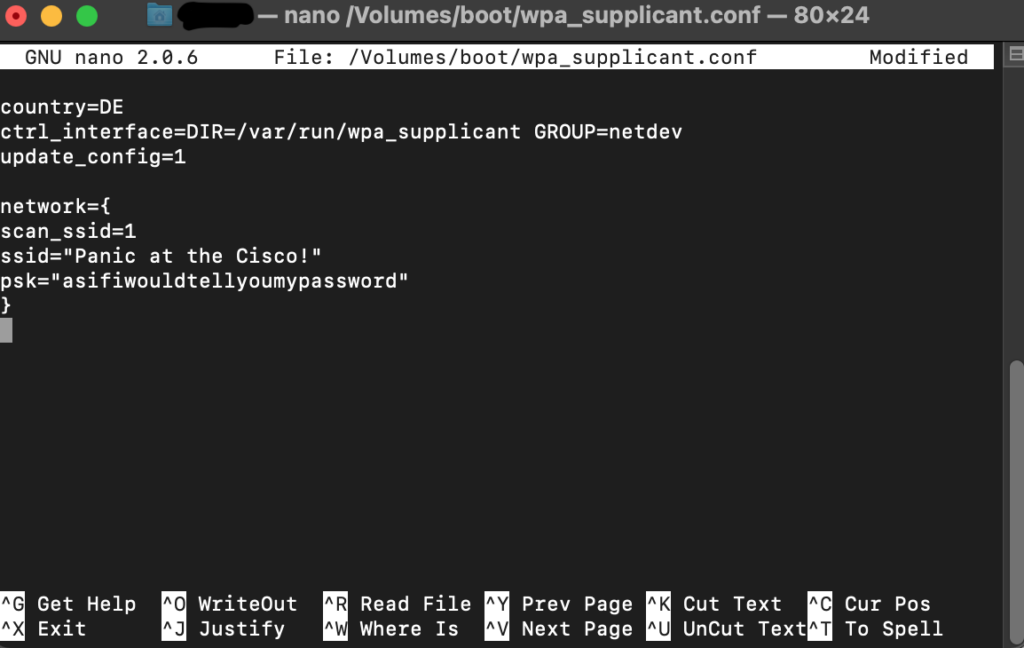
nano /Volumes/boot/wpa_supplicant.confCopy-Paste the text below, edit the details to match your Wifi, save the file with CTRL + O → Enter and exit the file with CTRL + X → Enter.
Linux: Can be done the same as in Windows, or via the Terminal application, depending on your system.
touch /path/to/your/sd_card/wpa_supplicant.conf
nano /path/to/your/sd_card/wpa_supplicant.conf
Copy-Paste:
country=your_country_code
ctrl_interface=DIR=/var/run/wpa_supplicant GROUP=netdev
update_config=1
network={
scan_ssid=1
ssid="your_wifi_ssid"
psk="your_wifi_password"
}
Change the following values:
- country
- ssid
- psk
You can find your country code here:
If you managed to enter all the details correctly, the Raspberry Pi should connect to your wifi on the first start.
Once that is done, your SD card should be ready to boot. Simply insert the card into your Raspberry Pi and connect power.
Connect to the Raspberry Pi
In order to connect to your Raspberry Pi over SSH, you can either use the hostname or the IP address. The hostname of a fresh Raspberry Pi will always be “raspberrypi”. If you already have a device with that hostname in your network, you will need to use the IP address, which should be visible on the web interface of your router.
If you prefer to use the IP address and only have ONE device with the hostname “raspberrypi” you can use the “nslookup” command to retrieve it. Open a terminal / command line window and type:
nslookup raspberrypiThe returned address should be your Pi’s IP address.
:~$ nslookup raspberrypi
Server:		192.168.0.1
Address:	192.168.0.1#53

Name:	raspberrypi
Address: 192.168.0.60
If you do not get an address back you should check your router to see if the device is connected. Maybe you mistyped the password earlier? No worries tho if that is the case you can just edit the file on the SD card again.
To establish the connection just open a terminal or command line window and type one of the following statements and hit enter:
ssh pi@raspberrypiOR
ssh pi@ip_addressThe username of a fresh Raspberry Pi will always be “pi” and the password will be “raspberry”.
Note: Please change the password as soon as possible!
You should now be connected to your Raspberry Pi. Let’s talk about important setup steps next!
Post Installation setup steps
There are some important configurations that you should do after the first connection has been made. First, you should update your Raspberry Pi to ensure the best possible security and performance. To do that you can use the following commands:
sudo apt update
sudo apt upgrade
After that you should:
- Change the hostname
- Use a name that can easily identify the device later
- Change the login password
Both of these tasks can be accomplished with the built-in tool “raspi-config”. Simply enter the command below into your connected terminal session and a visual menu will guide you through the process.
sudo raspi-config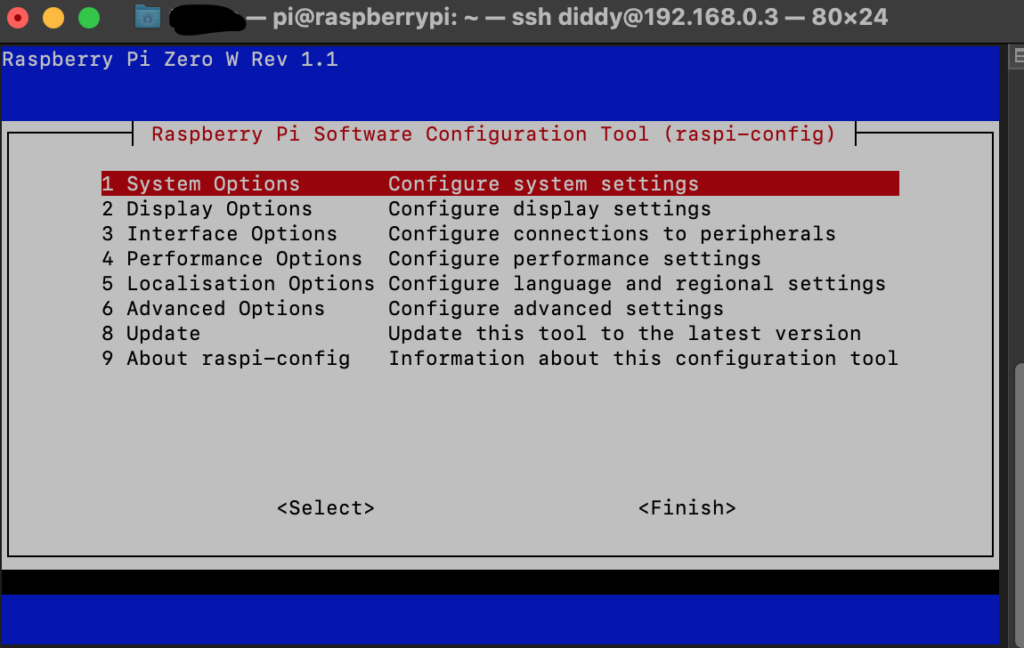
After all changes have been made, select “Finish” and confirm the reboot.
Your Raspberry Pi should now be ready to go. If you are interested in a more advanced setup (e.g. key-based SSH authentication, static IP addresses) stay tuned. I will make sure to cover this topic soon.
THE END
Thank you for reading this article. I hope everything was described clearly. If you have any questions, do not hesitate to leave a comment! I will try to answer your questions.