
This short guide shall give a detailed explanation of how to install Pimox on a Raspberry Pi 4.
Difficulty: Beginner – Intermediate
Time: 30-45 minutes
Table of Contents
Prerequisites
- Raspberry Pi
- SD Card (min. 16GB) + Reader –> A bigger SD card is strongly recommended!
- Access to a laptop with an internet connection
- Monitor + cables (optional)
- Keyboard and mouse (optional)
- LAN cable (optional, if you want to use a wireless connection)
Install Host Operating System (Pi OS 64-bit)
Raspberry Pi Imager: https://www.raspberrypi.org/software/
Pi OS 64-bit: https://downloads.raspberrypi.org/raspios_arm64/images/
Pimox needs a 64-bit operating system to function correctly. As of the time of writing this guide, the Raspberry Pi Imager does not have an option to flash the 64-bit version of Pi OS directly from the list of available operating systems. You can however download the image manually and tell the Raspberry Pi Imager to prepare the SD card with said image.
Download the latest version of the Pi OS 64-bit Image from the link above.
Download and install the Raspberry Pi Imager from the link above. Once that is done insert your SD card into your preferred device and start the tool.
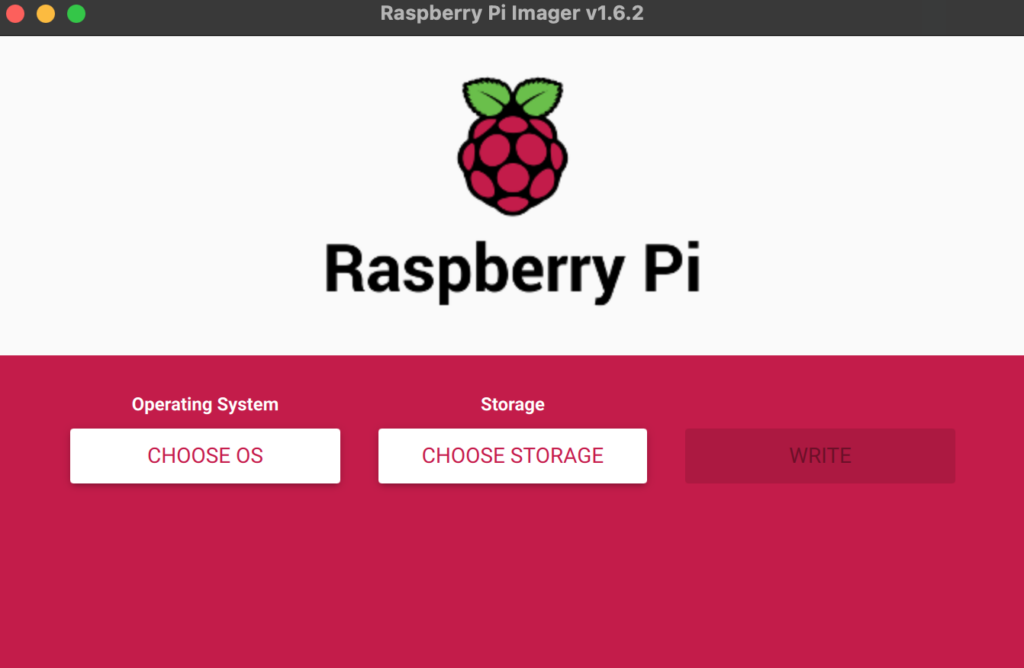
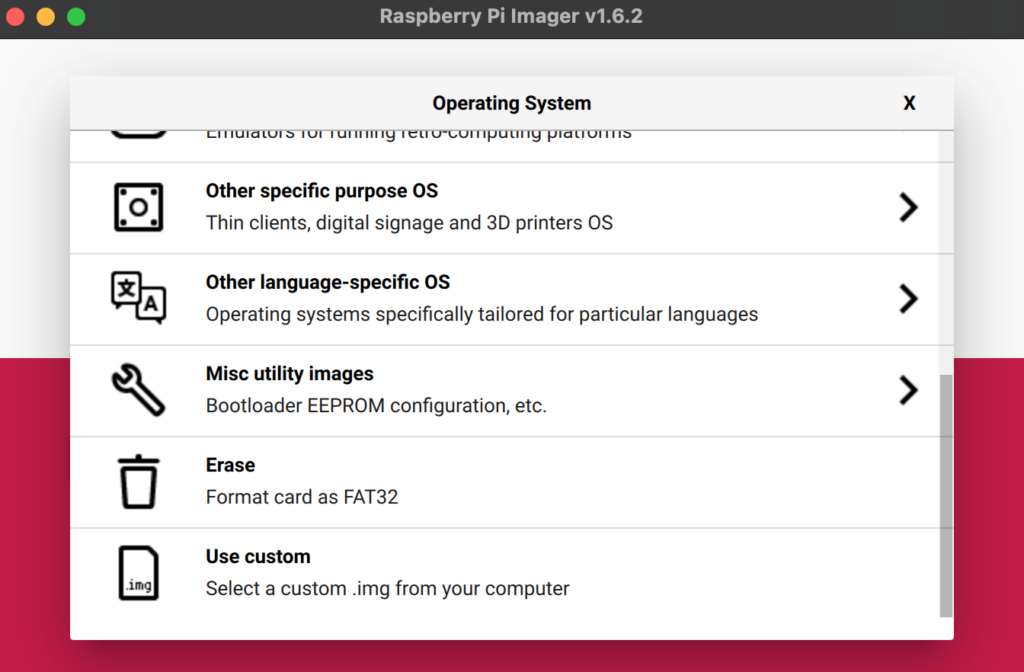

- Select “Choose OS” → “Use Custom” and select the image you downloaded.
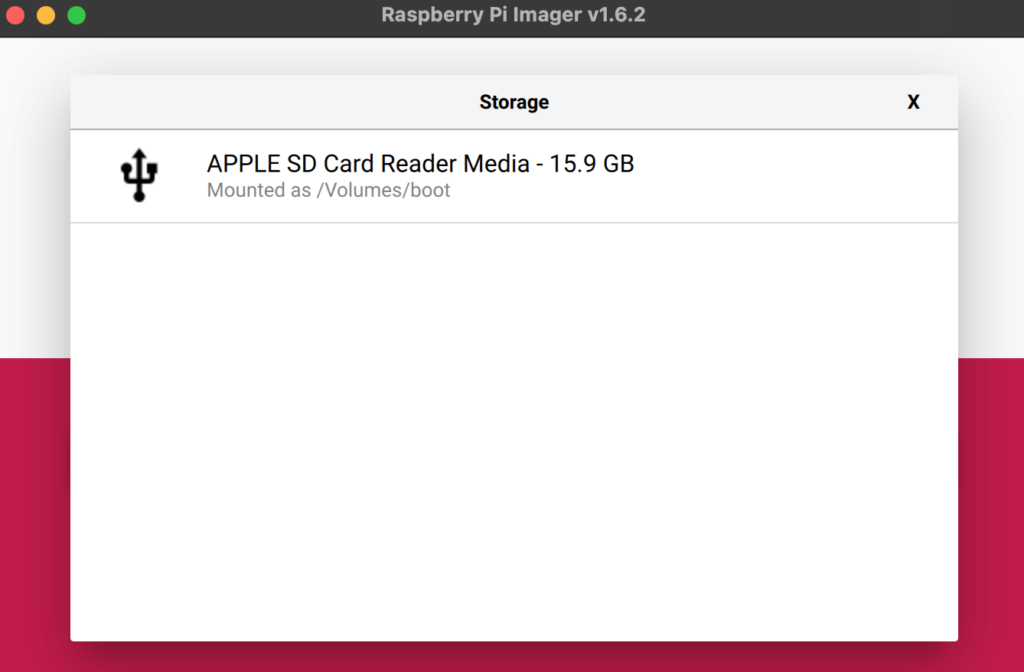
- Select the storage you want to install Pi OS to. This should be your SD card.
- Click “Write” to start the installation process. You will then be informed that this will erase all contents of the SD card. Be sure that there is nothing on your SD card that you still need.
Once the tool is done, Pi OS has been installed onto your SD card.
The next step will be to start the Raspberry Pi and access the CLI for further configuration. You can either prepare your Raspberry Pi as a headless unit now or temporarily connect a monitor and a keyboard. If you want to configure the Pi as a headless unit, please follow this guide for the necessary steps:
https://dailycompute.net/raspi/setup-a-headless-raspberry-pi-wifi-ssh/
If you want to hook up an external monitor and a keyboard, you can do so now. Please note that the Raspberry Pi might require a reboot to recognize the monitor. The default credentials for every Raspberry Pi are:
username: pi
password: raspberry
Pre-Installation Setup
Update the Raspberry Pi
The first thing to do after starting a Raspberry Pi is a system update. You can use the following commands:
sudo apt update
sudo apt upgrade -y
Change hostname and password
You can change the hostname and login password in the “raspi-config” menu.
sudo raspi-config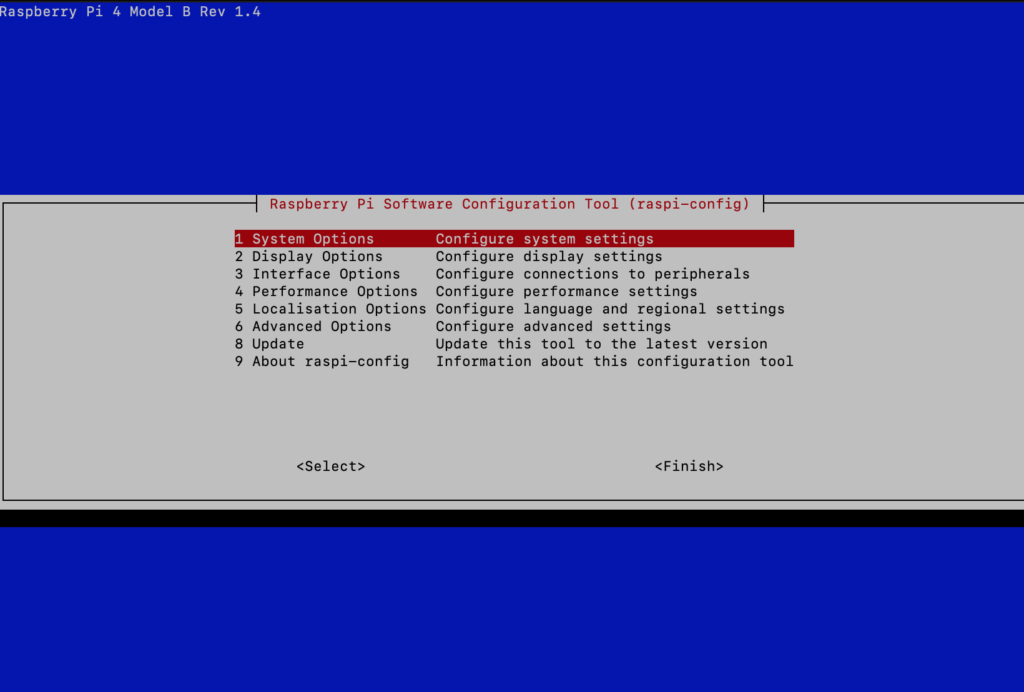
Assign a static IP address
Pimox needs a static IP address to function correctly. You can set a static IP as follows:
sudo vim /etc/dhcpcd.conf

interface eth0 (if you are using wifi, the interface name changes)
static ip_address=YOUR_IP_HERE/YOUR_SUBNET_HERE (e.g. 192.168.0.2/24)
static routers=YOUR_GATEWAY_HERE (e.g. 192.168.0.1)
static domain_name_servers=YOUR_DNS_SERVERS_HERE (e.g. 192.168.0.1 8.8.8.8)
Edit the hosts file
The /etc/hosts file needs to be edited or the installation will crash:
sudo vim /etc/hosts

#127.0.1.1     YOUR_HOSTNAME_HERE (remove this)
YOUR_IP_HERE  YOUR_HOSTNAME_HERE (add this)
Example on my Raspberry Pi:
pi@rpi1:~ $ cat /etc/hosts
127.0.0.1	localhost
::1		localhost ip6-localhost ip6-loopback
ff02::1		ip6-allnodes
ff02::2		ip6-allrouters

192.168.0.2 	rpi1
Pimox 7 Installation
Now it’s time to actually install Pimox. As of the time of writing, Pimox 7 is the latest release. You can check for newer releases on the GitHub repository for Pimox.
Link: https://github.com/orgs/pimox/repositories?type=all
To start the installation you first need to add the repository as an external source.
sudo curl https://raw.githubusercontent.com/pimox/pimox7/master/KEY.gpg | apt-key add -
sudo echo "deb https://raw.githubusercontent.com/pimox/pimox7/master/ dev/" > /etc/apt/sources.list.d/pimox.list
sudo apt update
Once that is done you can go ahead and install Pimox with this command:
sudo apt install -y proxmox-veThis will take a while. Go and get a coffee or something else! Once the installation has been completed you need to reboot your Raspberry Pi.
sudo rebootAfterwards your Pimox installation should be accessible via HTTPS on port 8006.
https://YOU_IP_HERE:8006Last but not least set up a network bridge that your VMs can use to connect to your network. To do this select your node (top-left corner, below “Datacenter”) and then “Network” in the node settings. Enter the IP address of your Raspberry Pi and the network gateway. As “Bridge port” enter “eth0” and save.

Create a VM
The default values during the VM creation process will not work. You will have to change the following settings:
- CD / DVD drive: SCSI
- CPU: Host
- BIOS: OVMF
- add EFI disk
- change the boot order to CD first
With these settings, I was able to start a VM with Debian 11 (ARM64)
Conclusion
Thats it. This is all you need to know to get Pimox up and running on your Raspberry Pi 4.